
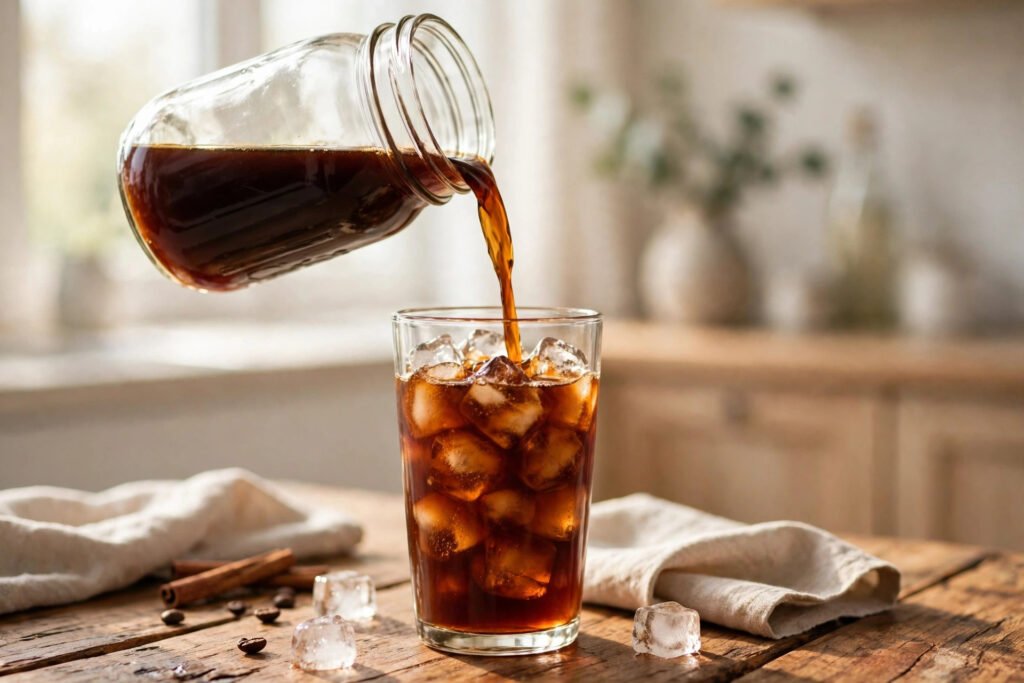
Cold brew is the easiest coffee to make at home — and the silliest thing to buy a gadget for. Learning cold brew without a cold brew maker takes exactly three things: coarse coffee grounds, cold water, and time. No machine, no special filter tower, no $60 brewer taking up cabinet space. Below are four methods ranked from simplest to cleanest, using gear already sitting in your kitchen.
One honest note first: cold brew is not just “iced coffee.” Iced coffee is hot coffee cooled down; cold brew never touches heat, which is why it tastes smoother, sweeter, and far less acidic. Every method below produces a concentrate — strong by design, meant to be diluted 1:1 with water or milk. Once you taste the difference, the coffee-shop drive-through gets a lot less tempting.
Cold Brew vs. Iced Coffee — Know the Difference
They look similar in the glass but they’re different drinks. Iced coffee = hot-brewed coffee (drip, pour over, French press) poured over ice. It’s quick — ready in minutes — but the heat extracts bitter compounds and acids, and the melting ice dilutes it fast. Cold brew = coarse grounds steeped in cold or room-temperature water for 12–24 hours. Time does the extracting instead of heat, pulling out the sweet, chocolatey flavors while leaving most of the bitterness and acidity behind.
The practical upshot: cold brew tastes naturally sweeter and smoother, keeps for up to two weeks in the fridge (iced coffee goes stale in hours), and makes a better base for milky drinks. The only cost is planning ahead — which is exactly what the methods below make painless. If you want the full technique breakdown from a big-name roaster, Starbucks’ own cold brew guide confirms the same jar-or-press approach.
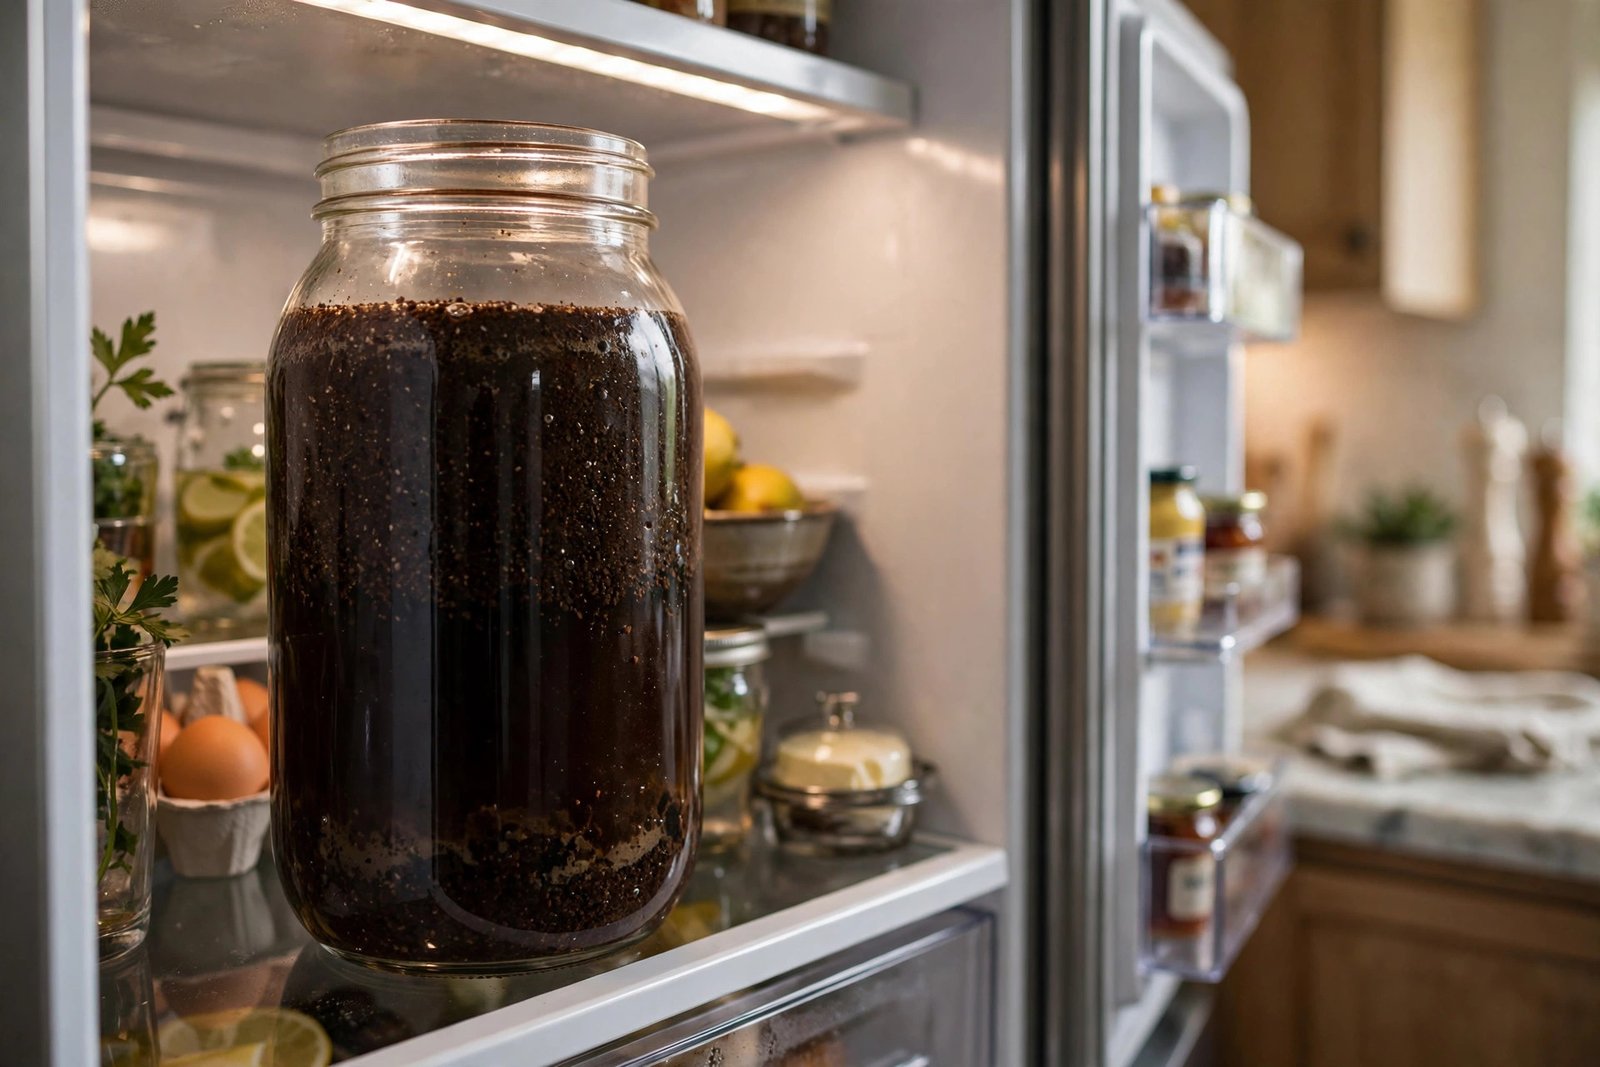
Method 1: Mason Jar — The Classic No-Gear Method
The original cold brew maker is a jar your grandmother already owned. Coarse grounds + cold water + a lid + the fridge: that’s the entire recipe, and it makes some of the best cold brew you’ll ever drink.
What you need: a large mason jar or any lidded jar (quart-size or bigger), coarse-ground coffee, cold filtered water.
- Add the grounds. Add 1 cup of coarsely ground coffee to the jar — about 4 ounces. Coarse like breadcrumbs, not powder (more on grind below).
- Add water and stir. Pour in 4 cups of cold filtered water. Stir thoroughly so every ground is saturated — dry clumps never extract.
- Seal and refrigerate. Screw the lid on and place the jar in the fridge for 14–18 hours. Overnight plus a workday is the sweet spot.
- Strain twice. Pour through a fine-mesh sieve first to catch the big grounds, then through a paper coffee filter (or cheesecloth) set in the sieve for a clean cup. The second strain is what separates silky cold brew from muddy cold brew.
- Store the concentrate. Pour into a clean pitcher or bottle and refrigerate. Dilute 1:1 with water or milk when serving.
Why it wins: zero special equipment, dead simple, and the batch size scales to any jar you own. The only downside is the double-strain — but ten extra minutes of filtering beats a $60 gadget.
Method 2: French Press — The Built-In Filter
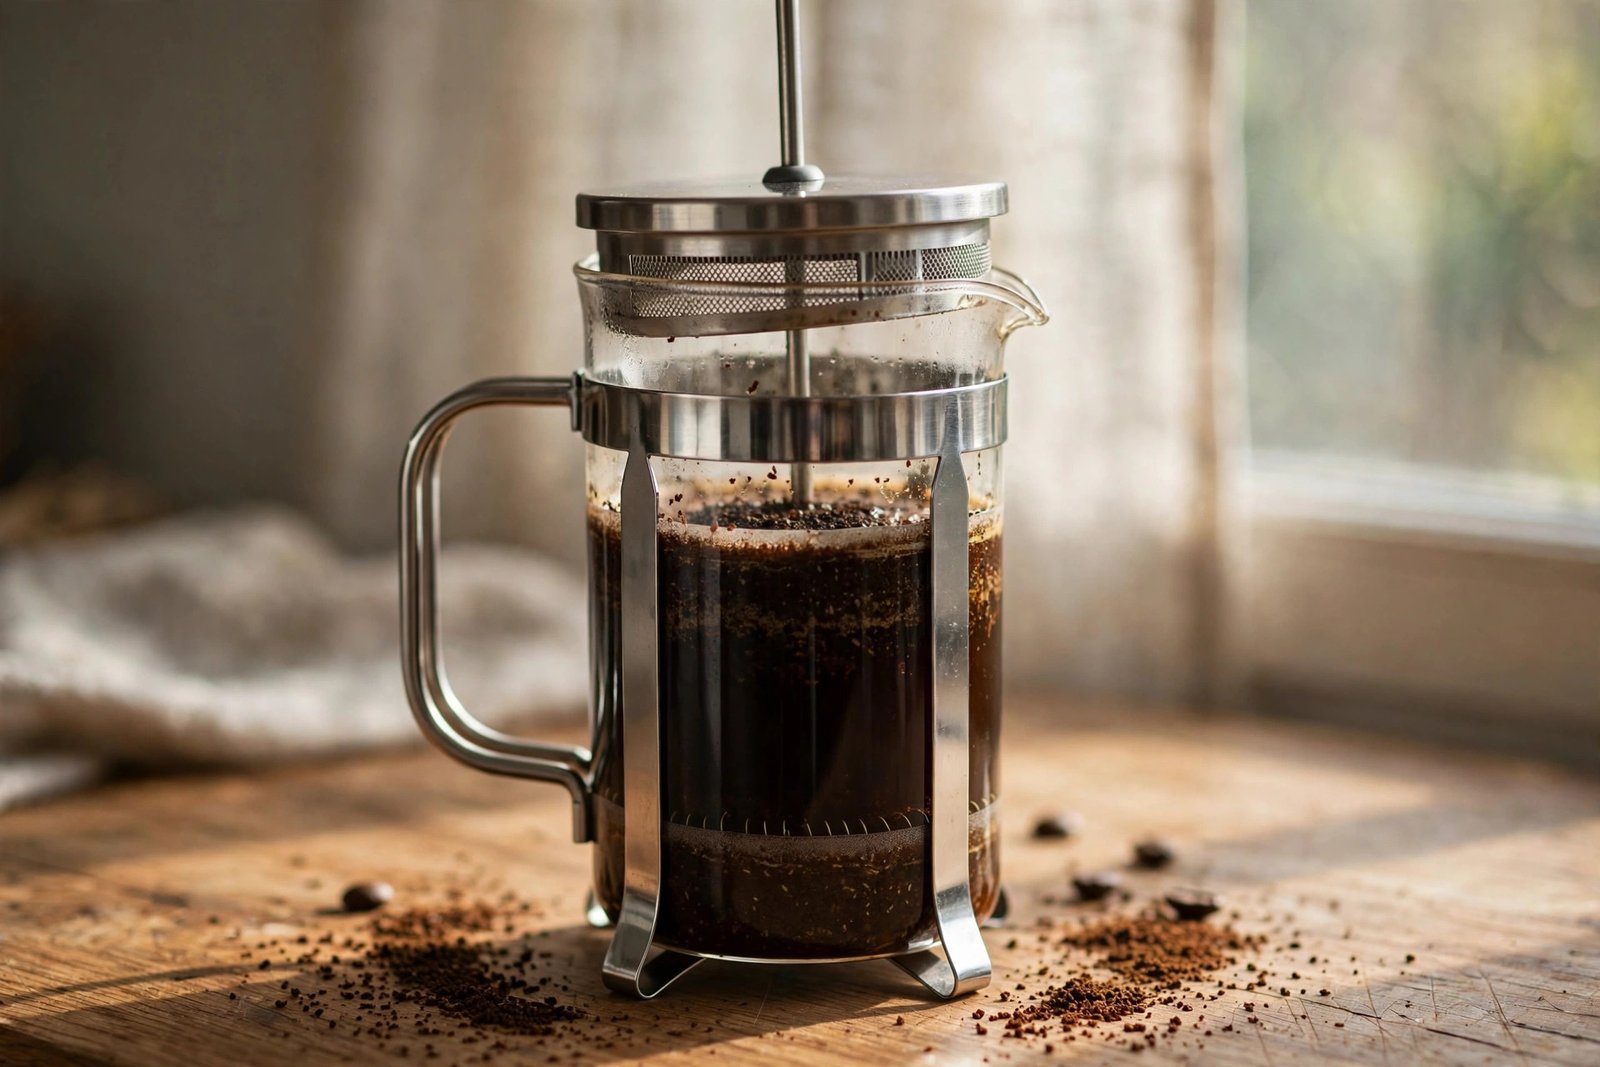
If you own a French press, you own a cold brew maker with the filter already installed. The mesh plunger does the straining for you — the single biggest cleanup advantage on this list.
What you need: a French press (any size), coarse-ground coffee, cold filtered water.
- Combine in the press. Add coarse grounds and cold water at the same 1:4 ratio by volume (1 cup grounds to 4 cups water for a standard 34-oz press). Stir to saturate.
- Steep with the plunger UP. Place the lid on top but do not press the plunger down — the grounds need to float freely. Refrigerate 14–18 hours.
- Press and pour. Slowly push the plunger down to trap the grounds, then pour the concentrate into a storage pitcher. That’s it — no second strain needed for most tastes.
Why people love it: one vessel from steep to serve, and the plunger handles 95% of the filtering. For an extra-clean cup, pour the pressed brew through a paper filter once. If your press is small, just run back-to-back batches — the method takes two minutes of active time.
Method 3: Pitcher and Strainer — Big Batches for the Week
Feeding a household of iced-coffee drinkers? Skip the small jars and go straight to a full pitcher. This is the meal-prep version of cold brew: one Sunday batch covers the entire week.
What you need: a large pitcher (half-gallon or bigger), coarse-ground coffee, cold water, a fine-mesh sieve + cheesecloth or paper filters.
- Scale the ratio. Use 2 cups of coarse grounds to 8 cups of cold water (still 1:4 by volume). Stir well in the pitcher.
- Cover and steep. Cover with plastic wrap or a lid and refrigerate 16–20 hours — bigger batches benefit from the longer end of the range.
- Strain in stages. Pour through the sieve into a second pitcher, then re-strain through cheesecloth or a paper filter. Big batches carry more fine sediment, so don’t skip the second pass.
- Bottle it. Funnel into bottles or jars and refrigerate. Label the date — you’ll thank yourself on day ten.
Best for: households, offices, or anyone who drinks iced coffee daily. The per-cup cost drops to pennies, and you only do dishes once a week.
Method 4: Filter Bag — The Cleanest Cleanup
The fanciest-tasting trick with the least mess: steep the grounds inside a reusable filter bag, then lift the whole thing out. No straining, no sediment, no cheesecloth wrestling.
What you need: a large jar or pitcher, coarse-ground coffee, and a reusable cold brew filter bag, nut milk bag, or even a clean cotton pillowcase in a pinch.
- Bag the grounds. Add 1 cup of coarse grounds to the filter bag and tie or cinch it closed — leave room inside, since grounds swell as they absorb water.
- Steep like tea. Submerge the bag in 4 cups of cold water in your jar or pitcher. Refrigerate 14–18 hours, giving the bag a gentle dunk once or twice if you remember.
- Lift and drip. Pull the bag out and let it drip for a minute over the jar — don’t squeeze hard, which pushes bitter fines through. Compost the grounds.
- Done. Your concentrate is already strained. Bottle and refrigerate.
Why it’s the cleanest: the grounds never touch the vessel walls, so cleanup is rinsing one bag. A $10 reusable bag pays for itself the first week — and it’s the method I’d hand to anyone who hates doing dishes.
The Golden Ratio (1:8) and Why It Matters
Cold brew math is simpler than it looks. There are two ratios to know:
- Brewing ratio — 1:4 by volume (1 cup grounds to 4 cups water). This makes a concentrate, roughly twice as strong as drinking coffee. Every method above uses this.
- Serving ratio — 1:1 (1 part concentrate to 1 part water or milk over ice). This brings it down to normal drinking strength.
Prefer weight for precision? Use 1:8 by weight — 1 gram of coffee per 8 grams of water (so 125g coffee to 1 liter of water). Weight is more consistent than volume because grind size changes how grounds pack into a cup. You don’t need a fancy scale — our budget grinder guide covers why grinding fresh matters more than weighing perfectly, but a $12 kitchen scale removes all guesswork.
Too strong? Dilute more (1:2). Too weak? Steep longer (up to 24 hours) or bump the grounds to a 1:3.5 brewing ratio. Write down what you change — cold brew rewards iteration.

Cold Brew Without a Cold Brew Maker: Which Method Should You Choose?
- Simplest, zero gear → Mason jar. The baseline every other method is measured against. If you own a jar, you can start tonight.
- Easiest cleanup → French press. The plunger is a built-in filter. Best if you already own one.
- Biggest batches → Pitcher and strainer. One weekly batch for heavy drinkers and households.
- Least mess → Filter bag. Lift the bag, compost the grounds, done. Worth the $10 bag.
Honest take: they all taste the same when done right — the difference is workflow, not flavor. Pick the one matching the gear you own and the dishes you hate. And if you ever do want a dedicated brewer, our best budget cold brew makers roundup covers when the upgrade actually makes sense.
Grind Coarse or Go Home
Grind size is the one variable that ruins more cold brew than any other. Here’s the rule: coarse, like breadcrumbs or raw sugar. Cold water extracts slowly, so fine grounds over-extract over 16 hours and turn the batch bitter and muddy — plus they’re nearly impossible to strain out.
- Too fine → bitter, silty, over-extracted. The #1 beginner mistake.
- Too coarse (whole beans) → weak, tea-like, under-extracted. Looks rustic, tastes like brown water.
- Just right → coarse crumbs, roughly the texture of coarse sea salt or breadcrumbs. Even and uniform.
A burr grinder earns its keep here — blade grinders make a mix of powder and boulders that extract unevenly. And grind fresh: pre-ground coffee stales fast, and stale grounds make flat cold brew no matter how perfect your method is.
Turn Your Cold Brew Into Café Drinks
Concentrate is a building block. The classics:
- Classic iced cold brew: 1 part concentrate + 1 part cold water over a full glass of ice.
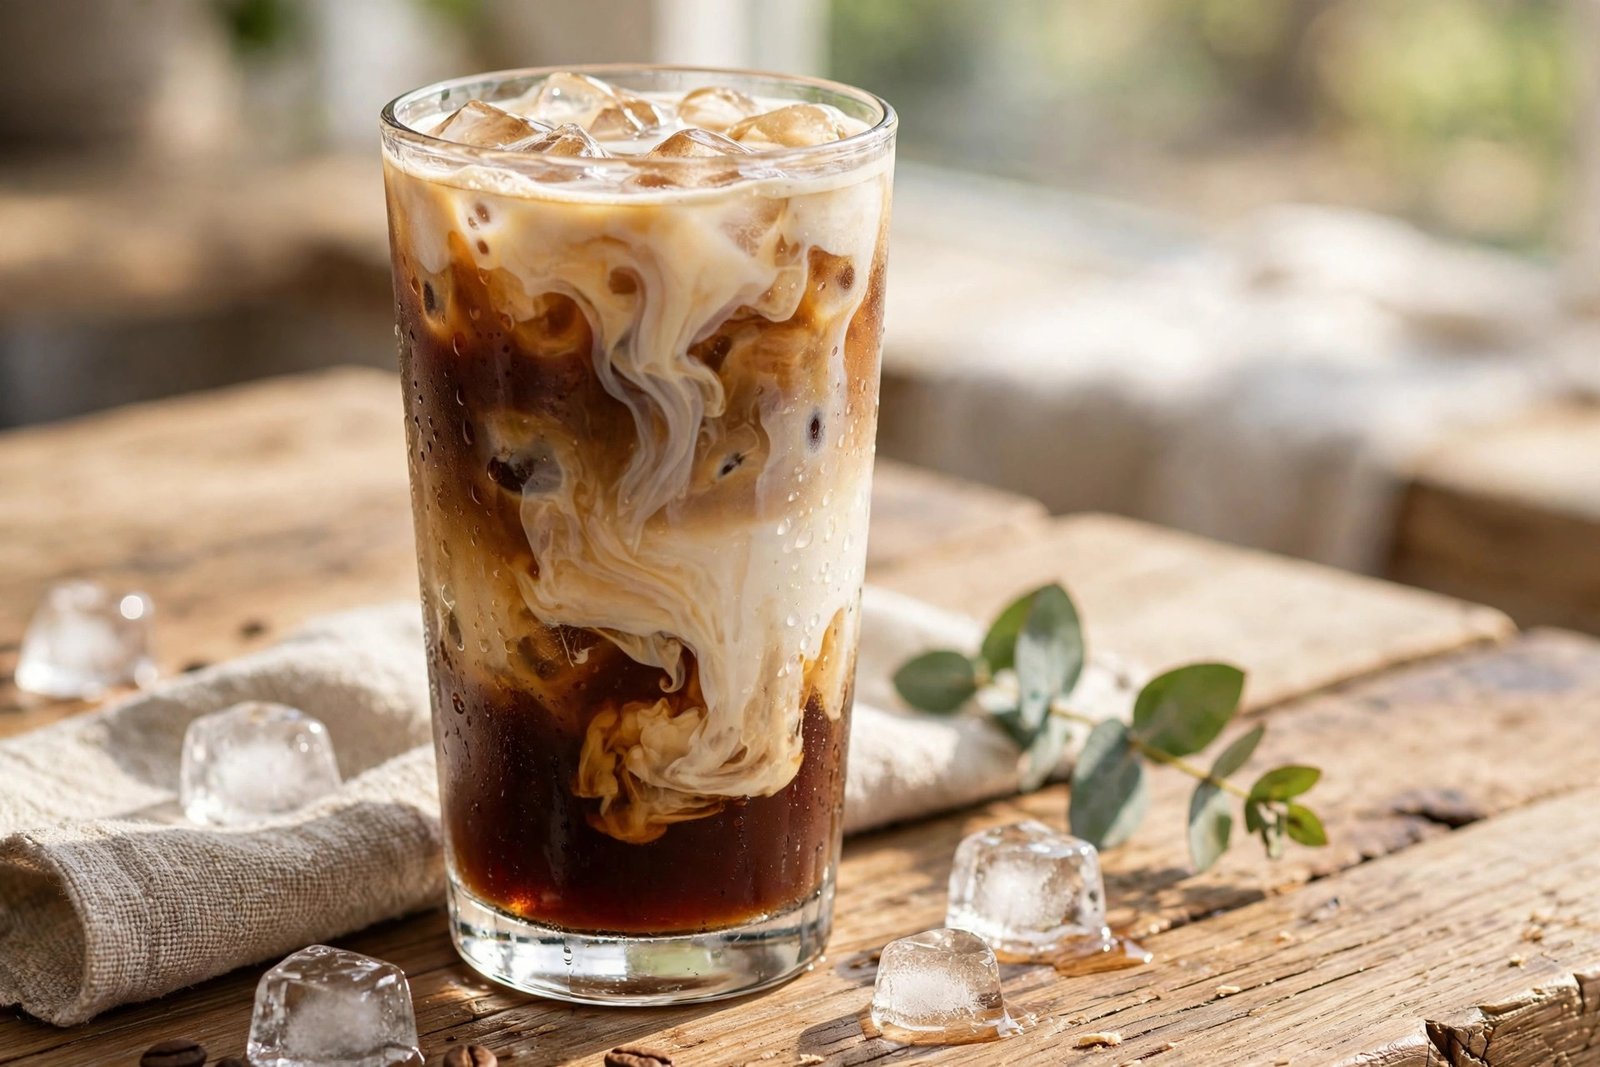
- Iced latte: 1 part concentrate + 1 part cold milk over ice. For the coffee-shop layered look, pour the milk in slowly over the back of a spoon.
- Cold foam cold brew: top with cold foam made via our no-frother frothing guide — the jar-shake method was born for this.
- Vanilla cream cold brew: 2 tablespoons homemade vanilla syrup + concentrate + a splash of sweet cream over ice.
- Fall cold brew: stir in pumpkin spice, apple pie, or caramel syrup before the milk — the coffee-shop seasonal menu, at home prices.
- Cold brew tonic: 1 part concentrate + 2 parts tonic water over ice with a lemon twist. Weird, refreshing, oddly addictive.
Storage and Shelf Life
Cold brew’s superpower is longevity. Stored right, one batch outlasts any hot-brewed coffee by weeks:
- Concentrate in the fridge: up to 2 weeks. Keep it in a sealed pitcher or bottles. Always pour with clean hands and clean glassware — introduced bacteria is what shortens its life.
- Diluted/served cold brew: 2–3 days. Once you add water or milk, treat it like any perishable drink.
- Freezer: up to 3 months. Freeze concentrate in ice cube trays — cold brew cubes chill your drink without diluting it. Drop two cubes into milk for an instant iced latte.
- Room temperature: don’t store it there. Steeping at room temp for the brew is fine (some prefer it), but store the finished concentrate in the fridge.
Signs it’s past its prime: sour or off smell (beyond normal coffee acidity), visible mold, or a slimy texture. When in doubt, throw it out — grounds are cheap.

6 Mistakes That Ruin Cold Brew
- Grinding too fine. The classic error. Fine grounds over-extract across 16 hours and turn the batch bitter. Go coarse — breadcrumbs, not sand.
- Skipping the second strain. One pass through a sieve leaves fine sediment that keeps extracting in storage and muddies the flavor. The paper-filter second pass is non-negotiable.
- Using chlorinated tap water straight. Heavy chlorine flattens flavor. A basic pitcher filter or letting tap water sit uncovered for 30 minutes makes a noticeable difference.
- Steeping with the French press plunger down. Pressing early traps grounds in a puck that extracts unevenly. Plunger stays UP until the steep is done.
- Storing it with the grounds still in. Finished steeping means grounds come OUT. Leaving them in keeps extracting and turns the batch harsh within a day.
- Drinking the concentrate straight and declaring it “too strong.” It’s designed to be diluted 1:1. Judge it after the water or milk goes in, not before.
FAQs
Can you make cold brew without a cold brew maker? Absolutely — a mason jar, French press, pitcher, or filter bag all work. The maker is just a jar with a built-in filter; these methods get you the same smooth, low-acid concentrate for free.
How long should cold brew steep? 14–18 hours in the fridge is the sweet spot for most methods. Under 12 tastes weak and thin; past 24 risks bitter, woody flavors. Bigger batches lean toward the longer end.
What’s the best coffee-to-water ratio for cold brew? Brew at 1:4 by volume (1 cup coarse grounds to 4 cups water) for concentrate, then serve diluted 1:1 with water or milk. By weight, that’s 1:8 — 125g coffee per liter of water.
Can I use pre-ground coffee for cold brew? Yes, if it’s ground coarse. Most “cold brew” labeled bags are. But pre-ground stales quickly — grinding fresh whole beans right before steeping gives noticeably sweeter, cleaner flavor.
Is cold brew stronger than regular coffee? The concentrate is — roughly twice the caffeine per ounce of drip coffee. But served diluted 1:1, a glass lands about the same as a regular iced coffee. If you’re caffeine-sensitive, dilute 1:2.
Can I heat up cold brew? Yes — dilute the concentrate with hot water instead of cold for a smooth, low-acid hot coffee. It’s excellent in winter and gentler on sensitive stomachs than hot-brewed coffee.
Conclusion
Making cold brew without a cold brew maker isn’t a compromise — it’s the original method, and it still makes the best cup. A mason jar, a French press, or a $10 filter bag plus coarse grounds and an overnight steep gives you two weeks of smooth, low-acid concentrate for the price of one coffee-shop drink. Pick the method matching your kitchen, nail the coarse grind, strain it twice, and dilute before you judge.
Start a jar tonight, strain it tomorrow night, and pour your first homemade cold brew over ice the day after — then tell us which method earned a permanent spot in your fridge.
Keep Brewing
- Best Budget Cold Brew Makers (2026)
- How to Froth Milk Without a Frother (5 Easy Methods)
- How to Make Espresso Without an Espresso Machine (5 Methods)
- Homemade Vanilla Syrup for Coffee (3 Ingredients)
- Small Kitchen Coffee Bar Ideas: 15 Setups That Actually Fit
- Dalgona Whipped Coffee Recipe (Easy, 4 Ingredients)
Part of our Easy Coffee Recipes collection — five no-gear drinks you can make with what’s already in your kitchen.