

This guide is part of our budget coffee gear collection.
That silky cap of foam on a café latte isn’t magic — it’s just air, milk, and agitation. And you don’t need a $300 espresso machine’s steam wand to get it. The best budget milk frothers — a $10 handheld whisk or a $40 electric frother — can produce genuinely café-worthy foam in under a minute, right in your kitchen.
The catch: not all frothers make the same kind of foam, and the wrong type for your drinks will disappoint you. Below: the most popular budget milk frothers — handheld wands, electric jug frothers, and the free French-press method — with honest pros, cons, and who each one suits. Prices shift with sales, so we use ranges rather than exact numbers.
What to Look for in a Milk Frother
Before the reviews, here’s what actually determines your foam:
- Hot foam vs. cold foam. Handheld wands froth but don’t heat — you warm the milk separately. Electric jug frothers heat AND froth in one step, and most have a dedicated cold-foam mode for iced drinks. Decide which drinks you actually make.
- Foam texture: airy vs. silky. Cappuccino-style dry foam (big, fluffy bubbles) is easy — almost any frother does it. Latte-style microfoam (tiny, glossy, pourable bubbles) is harder and needs either an electric frother’s controlled spin or practiced wand technique. For a deeper look at professional technique, see Perfect Daily Grind’s 14-step guide to texturing milk.
- Capacity. Electric jugs froth 4–8 oz at a time — enough for one large latte. Handheld wands work in any container, so batch size is unlimited, but you froth one drink at a time either way.
- Cleaning. This is the make-or-break feature nobody talks about. A frother that’s annoying to clean gets used twice and abandoned. Handheld wands rinse in seconds; electric jugs need a wipe-down (never submerge them) and nonstick interiors hate abrasive scrubbing.
- Milk matters more than the machine. Whole milk froths easiest and creamiest. Oat milk works well IF it’s a “barista edition” — regular oat milk makes thin, sad foam. Skim makes big airy bubbles that collapse fast. Whatever frother you buy, whole or barista-blend milk is half the battle.
The golden rule of home frothing: heat milk to 140–150°F (60–65°C) — hot to the touch but not scalding. Boiled milk (over 160°F) tastes cooked and won’t foam properly no matter what gadget you use.
Whichever of the best budget milk frothers you pick, the technique matters as much as the tool.

The Reviews: Best Budget Milk Frothers (2026)
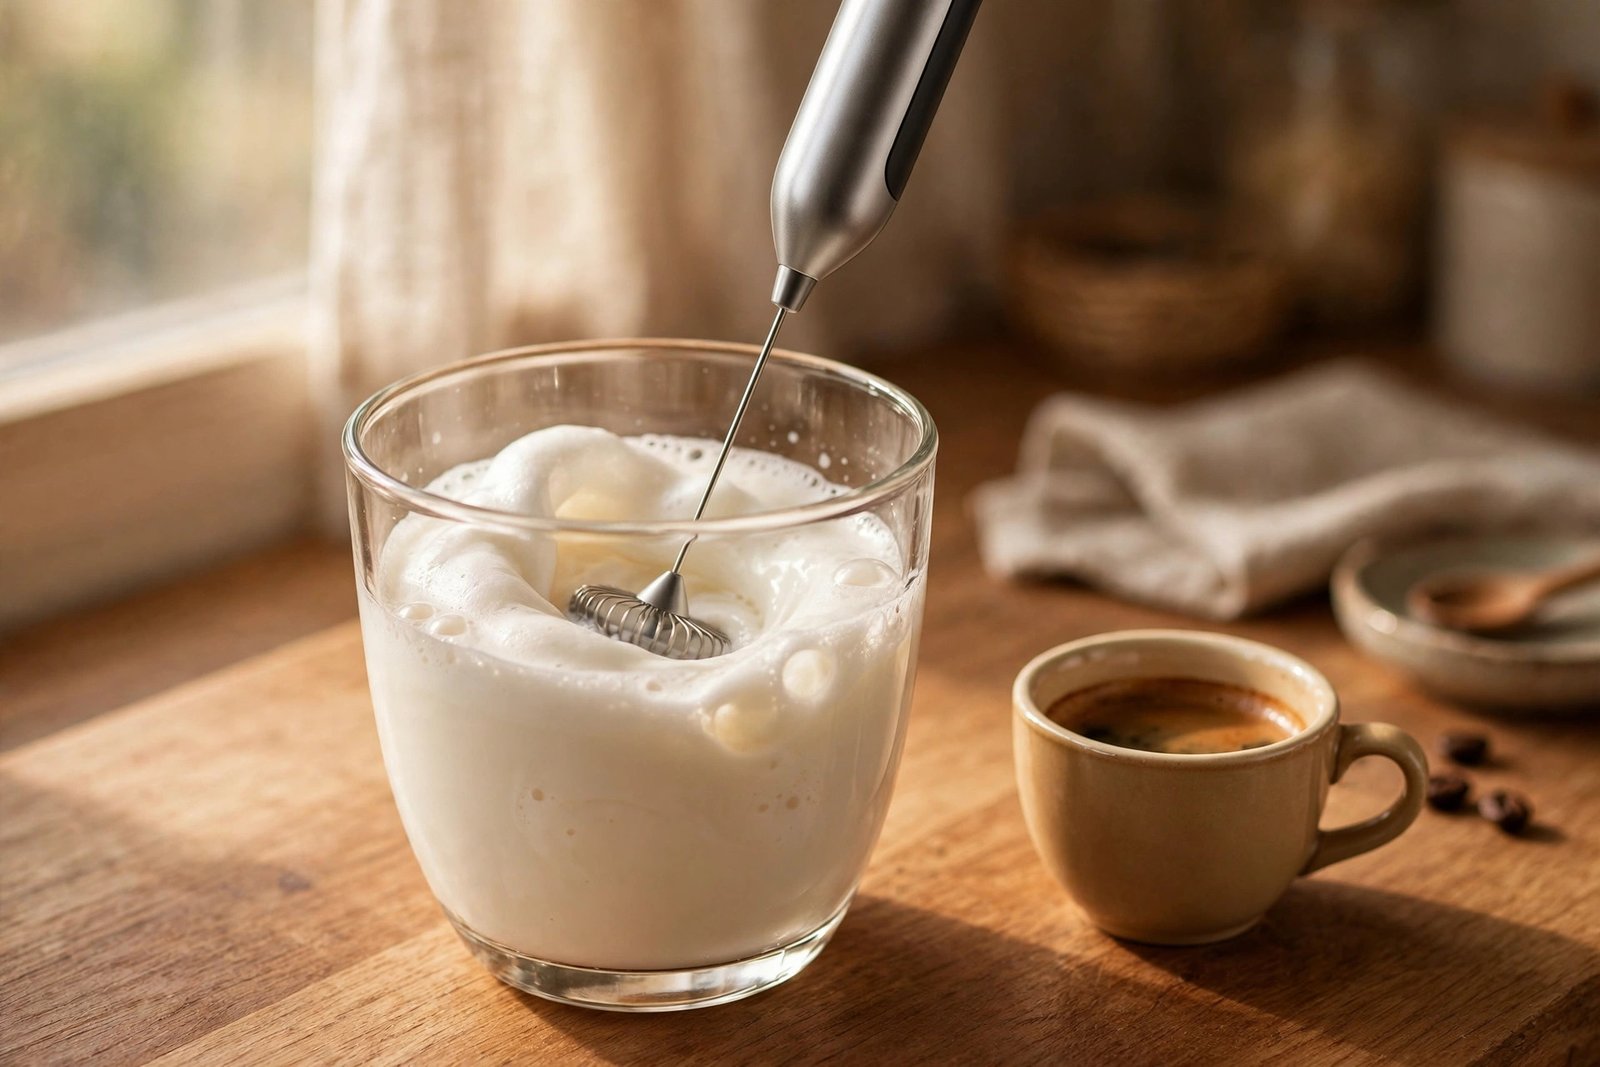
1. Zulay Kitchen Milk Frother Wand — Best Under $15
The Zulay is the best-selling handheld frother for a reason: a simple battery-powered wand with a stainless steel whisk head that spins fast enough to turn warm milk into thick foam in 20–30 seconds. It usually costs $10–$15, runs on AA batteries, and lives in a drawer instead of on your counter.
Pros: – Usually $10–$15 — less than two café lattes – Makes excellent cold foam for iced coffee (arguably its best use) – Zero counter footprint; stores in a drawer – Rinses clean in seconds under the tap – Surprisingly powerful motor for the price — froths in under 30 seconds
Cons: – Doesn’t heat milk — you warm it on the stove or in the microwave first – Foam is airier and less silky than an electric frother’s; latte art is basically impossible – Battery-powered means buying AAs (or rechargeables) forever – Technique matters: hold it at an angle, keep the whisk just under the surface, or you’ll spray milk everywhere
Best for: Iced-coffee drinkers and occasional latte makers who want the cheapest possible path to real foam — and anyone short on counter space.
2. SIMPLETASTE Rechargeable Milk Frother — Best Rechargeable Wand
The rechargeable upgrade to the classic battery wand: same handheld format, but with a USB-rechargeable battery and usually 2–3 speed settings. Typically $18–$25. If you froth daily, this pays for itself in skipped battery purchases within months.
Pros: – Usually $18–$25 with USB charging — no more battery runs – Multiple speeds give you some control over foam density – Often ships with a stand, which solves the “where do I put this drippy thing” problem – Same tiny footprint and 30-second cleanup as battery wands – Doubles as a matcha whisk and protein-shake mixer
Cons: – Still doesn’t heat milk — same limitation as all handhelds – Foam quality is comparable to the Zulay, not better; you’re paying for rechargeability and speeds, not silkier foam – Needs recharging every couple of weeks with daily use (easy to forget until it dies mid-froth)
Best for: Daily frothers who love the handheld format but are tired of buying batteries — the sweet spot of convenience and price.
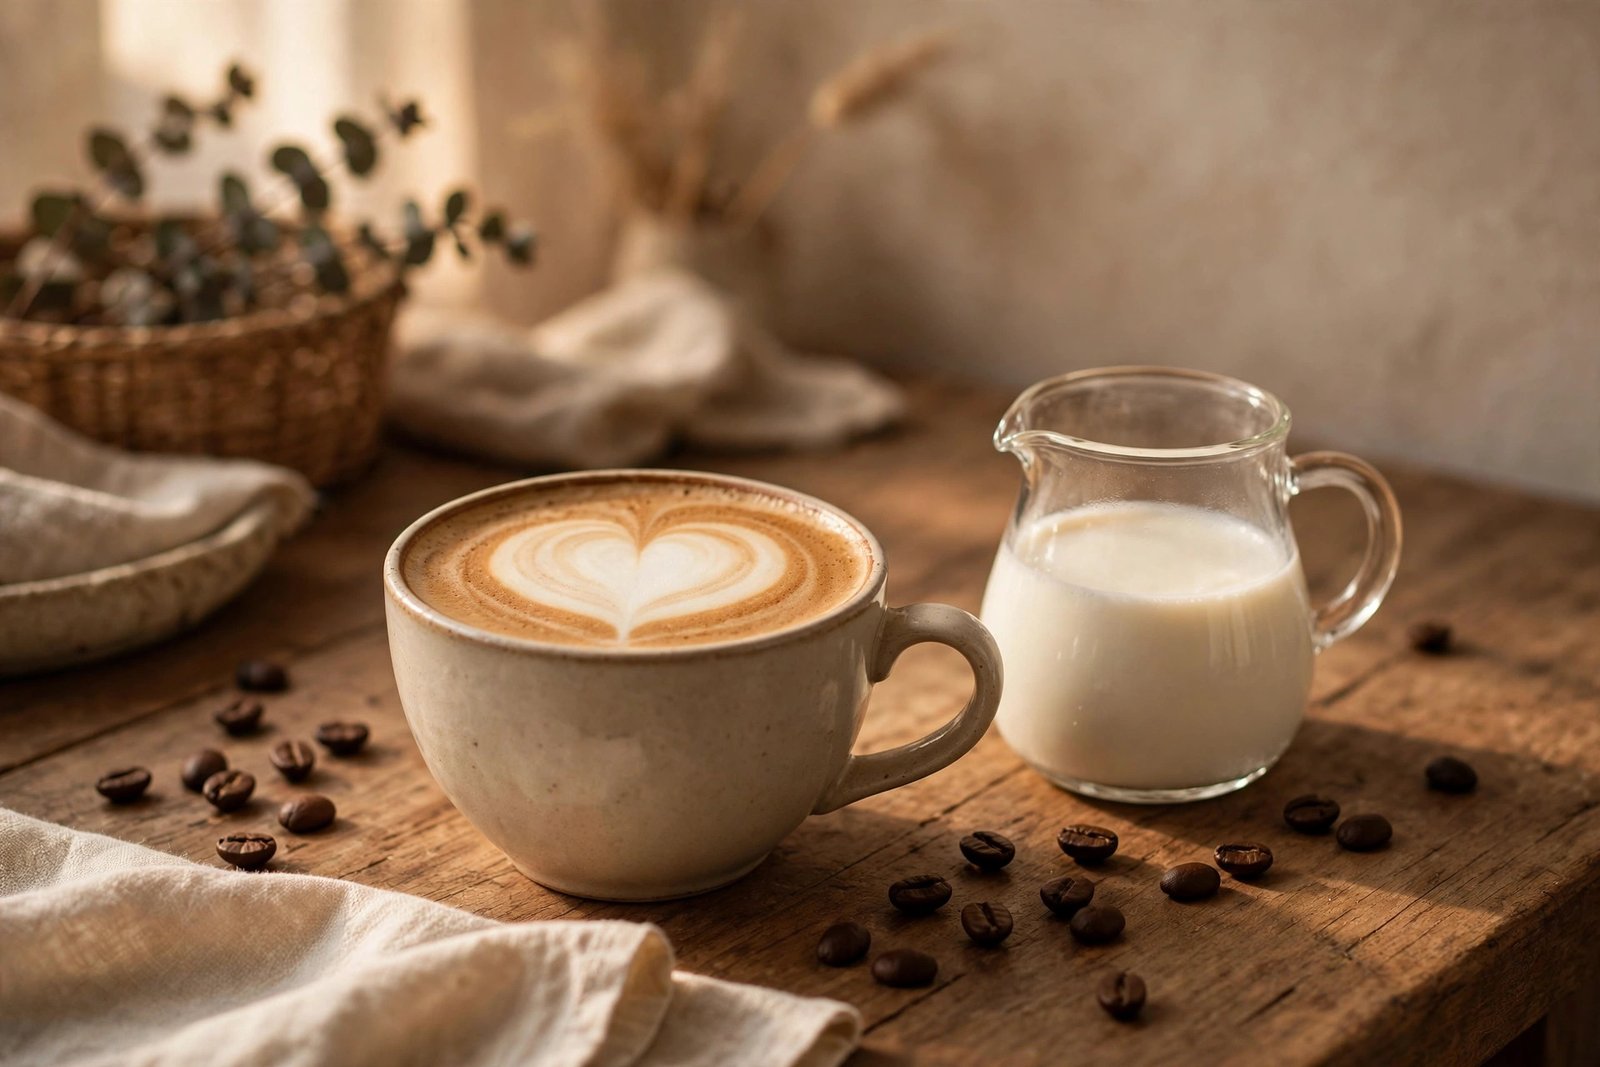
3. Secura Automatic Milk Frother — Best Budget Electric Jug
The Secura is the budget electric frother that keeps showing up in “best of” lists: a stainless steel jug with a magnetic whisk that heats and froths milk automatically in about 2 minutes. Usually $35–$45. Press a button, walk away, come back to hot frothed milk.
Pros: – Usually $35–$45 — the cheapest credible heat-and-froth automatic – Heats and froths in one step: true one-button lattes – Cold-foam setting for iced drinks – Much silkier, denser foam than any handheld wand — the closest to steam-wand microfoam at this price – Hands-free: no technique, no spraying, no babysitting
Cons: – Fixed capacity (about 8 oz frothing, less for heating only) — one large drink per cycle – The nonstick interior needs gentle hand-washing; never submerge the jug – Takes 1–2 minutes per cycle versus 30 seconds with a wand — slower mornings – Milk can scorch onto the heating plate if you run it with too little milk
Best for: Daily latte and cappuccino drinkers who want café-style hot foam with zero technique — the best “set it and forget it” value under $50.
4. Capresso frothPRO Automatic Milk Frother — Best for Foam Control
Capresso’s frothPRO (usually $40–$60) is the step-up automatic: a larger jug with multiple heat and foam settings, including a dedicated cold-froth mode and a hot-chocolate function. It’s the pick for households where one person wants a dry cappuccino foam and another wants silky latte milk.
The Pros: – Usually $40–$60 — still firmly budget, with more settings than the Secura – Multiple foam densities: dry cappuccino foam to wet latte microfoam – Hot chocolate mode is genuinely useful (and kid-approved) – Larger capacity than most budget automatics — easier for two-drink mornings – Dishwasher-safe jug on most versions (check the specific model)
Cons: – At the top of the budget; a $15 wand plus a microwave gets you 70% of the way there – More settings means a slightly longer learning curve to find your favorite – Still not true steam-wand microfoam — dedicated latte artists will eventually want the real thing – Counter footprint is real; it’s a small appliance, not a drawer gadget
Best for: Households with mixed drink preferences, hot-chocolate lovers, and anyone who wants the most control without leaving the budget tier.
5. The French Press Method — The $0 Option
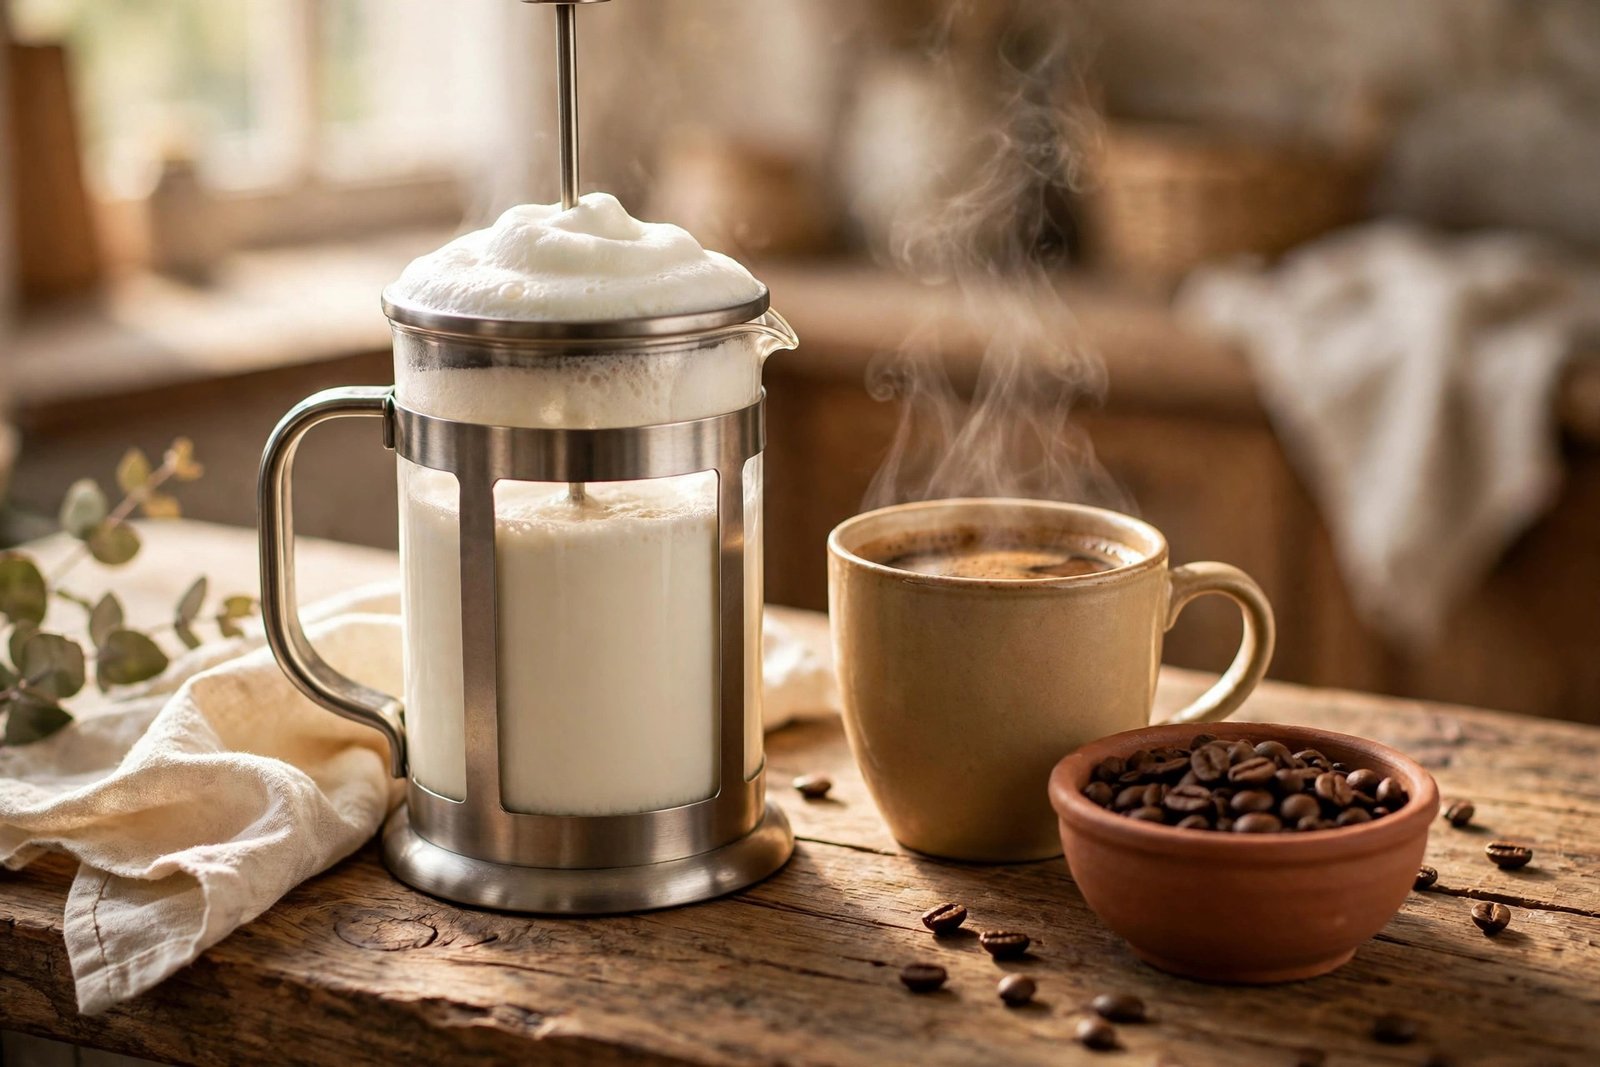
You probably own a French press. Heat milk to 150°F, pour it in (no more than half full), and pump the plunger vigorously for 30–45 seconds. The mesh screen whips air into the milk and produces shockingly good foam — denser than a handheld wand, nearly automatic-frother quality.
Pros: – $0 if you own a French press (and if you don’t, a basic one is $20–$30 and also makes coffee) – Produces dense, creamy foam — better than any $15 wand – Works for cold foam too: just pump cold milk straight from the fridge – Zero new gadgets, zero batteries, zero counter space
Cons: – Doesn’t heat the milk — stove or microwave first – Cleanup is a French press cleanup: disassemble, rinse the screen, reassemble – Batch size limited by your press; big presses make big foam, small presses don’t – Vigorous pumping can splash if you overfill — keep it half full, always
Best for: Everyone who owns a French press and hasn’t tried this yet. Seriously — try it before you buy anything. Our French press vs pour over guide covers which press to get if you don’t have one.
What About Stovetop Steamers and Manual Pump Frothers?
Two more options worth a mention. Stovetop steamers (Bellman-style, usually $100+) produce genuine steam-wand microfoam on any stove — real latte-art territory — but they’re over budget for this guide and have a real learning curve (plus pressure-vessel safety to respect). Manual pump frothers (glass beaker with a plunger lid, $20–$30, Bodum-style) work like the French press method in a dedicated, easier-cleaning vessel — a fine pick if you don’t own a press but want the $0-method experience in purpose-built form.
Quick Comparison
| Frother | Typical price | Heats milk? | Foam style | Standout strength |
|---|---|---|---|---|
| Zulay Kitchen wand | $10–$15 | No | Airy, fluffy | Cheapest real foam; amazing cold foam |
| SIMPLETASTE rechargeable | $18–$25 | No | Airy, fluffy | No batteries; speed control |
| Secura automatic | $35–$45 | Yes | Dense, silky | One-button hot lattes; best value automatic |
| Capresso frothPRO | $40–$60 | Yes | Adjustable | Most settings; hot chocolate mode |
| French press method | $0 | No | Dense, creamy | Free and shockingly good |

Tips for Café-Style Foam at Home
- Start with cold milk, always. Cold milk gives the proteins more time to trap air before heat sets the foam. Froth first, then heat — or use an automatic that does both in the right order.
- Whole milk is training wheels. Its fat and protein balance makes the most forgiving, creamiest foam. Once your technique is solid, graduate to barista-edition oat or 2% — regular plant milks are the hard mode.
- The 150°F rule. Heat milk to 140–150°F — hot but comfortable to hold. Above 160°F milk scalds, tastes cooked, and refuses to foam. A $10 kitchen thermometer ends the guessing.
- Tap and swirl. After frothing, tap the container firmly on the counter once or twice and swirl — this pops big bubbles and leaves glossy, pourable microfoam. This single step separates café-looking foam from dish-soap bubbles.
- Clean immediately. Rinse a wand within 30 seconds and milk wipes right off; wait ten minutes and it’s cement. For electric jugs, a damp cloth wipe right after pouring keeps the nonstick pristine for years.
FAQs
Can a handheld frother make latte art? Honestly, no — not real latte art. Handheld wands make airy foam with larger bubbles that can’t pour the fine lines of a rosetta or heart. For pourable microfoam you need an electric jug frother (or a steam wand). But for a thick, delicious cap of foam on your latte? A $12 wand absolutely delivers.
What’s the best milk for frothing? Whole dairy milk is the easiest and creamiest. For plant-based, use “barista edition” oat milk — brands formulate it with extra fat and stabilizers specifically for foam. Regular oat, almond, and soy make thin foam that collapses quickly. Avoid ultra-pasteurized if you can; gentler pasteurization foams better.
Do I really need a frother that heats milk? No — but it’s convenient. Heating milk on the stove or in the microwave takes 60–90 seconds and costs nothing, so a $12 wand plus your microwave makes perfectly good hot lattes. Pay for an automatic when you want one-button mornings, denser foam, or true cold-foam mode.
Why does my frothed milk taste burnt? You overheated it. Milk scalds above 160°F, and scalded milk tastes cooked and slightly sweet-sour. Automatic frothers prevent this by design; with a wand, heat gently and stop when the container feels hot but comfortable to hold — or use a thermometer until you learn the feel.
How do I make cold foam for iced coffee? Use cold milk straight from the fridge and any frother — handheld wands excel here. Froth 30–45 seconds until thick, then spoon it over iced coffee. Whole milk or barista oat give the most stable cold foam. For the Starbucks-style sweet cream cold foam, whisk in a splash of homemade vanilla syrup before frothing.
Conclusion
Foam is the cheapest luxury in coffee. A $10–$15 handheld wand transforms your morning cup for less than the cost of two café lattes — start there, especially if iced drinks are your thing. If hot lattes are a daily ritual, the Secura’s one-button heat-and-froth at $35–$45 is the best money in budget coffee gear. And before you buy anything at all, try the French press method — the $0 foam might be all you ever needed.
Froth something this week, pair it with a homemade syrup, and when your kitchen latte beats the drive-thru, come back and tell us which frother earned its spot.
Keep Brewing
- Best Budget Espresso Machines Under $200 (2026)
- French Press vs Pour Over: Which Is Better for Your Home Café?
- How to Make Vanilla Syrup for Coffee at Home (5 Minutes)
- Small Kitchen Coffee Bar Ideas: 15 Setups That Actually Fit
Part of the collection: This guide is part of our Budget Coffee Gear hub — 10 guides to brewing great coffee without spending a lot.