
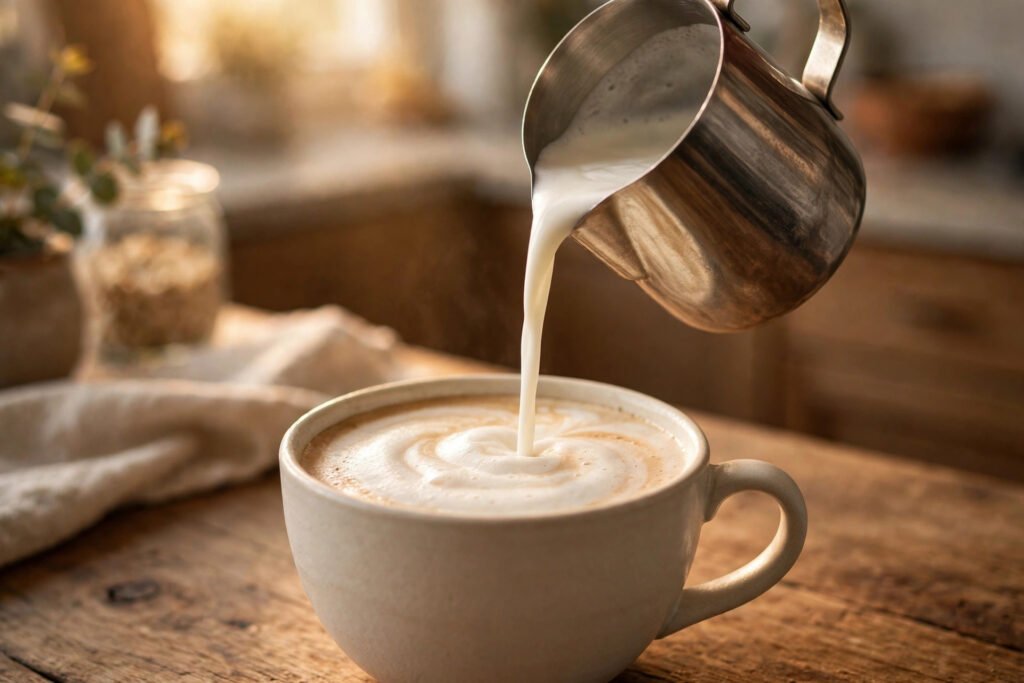
That thick, café-style foam on a latte doesn’t require a $100 frother, a steam wand, or any gadget at all. Learning how to froth milk without a frother is mostly about technique: with a French press, a mason jar, or even a plain whisk, you can make rich, spoonable foam for lattes, cappuccinos, and iced drinks — using tools already sitting in your kitchen.
One honest note first: none of these methods perfectly replicate steam-wand microfoam — the velvety, paint-like texture a barista pours into latte art. What they do produce is genuinely thick, stable foam that tastes fantastic in milk drinks. Judge by the latte in your hand, not by a side-by-side with a coffee shop pour.
What Makes Milk Froth? (The 60-Second Science)
Foam is just air trapped in milk, and two things do the trapping: protein and fat. Whipping or shaking unfolds milk proteins, which then form stretchy nets around tiny air bubbles. Fat adds richness and stability, which is why whole milk makes the glossiest, longest-lasting foam.
Temperature matters as much as technique. Milk froths best between 140–150°F (60–65°C) — hot enough to taste sweet and hold structure, cool enough that proteins stay intact. Push past 160°F and the proteins fully denature: the milk tastes flat or scorched, and the foam collapses. If you don’t own a thermometer, heat until it’s steaming and hot to the touch but not painful to hold — that lands you right in the zone.
Which Milk Froths Best?
- Whole milk — the gold standard. About 3.5% fat and plenty of protein gives dense, glossy, stable foam. Start here.
- 2% milk — very good. Slightly lighter foam, still perfectly cappuccino-worthy.
- Skim milk — big but fragile. Higher protein-to-fat ratio makes lots of airy, meringue-like foam that dissolves fast. Fine for a quick cappuccino cap.
- Oat milk (barista edition) — best non-dairy. Formulated with added fats and stabilizers to foam almost like dairy. Regular oat milk works; barista blends work better.
- Soy milk — decent. Foams reasonably thanks to its protein, with a slightly beany flavor.
- Almond milk — the hardest. Low protein means thin, short-lived foam. Sweetened versions do noticeably better than unsweetened.
Whatever you use, fresh, cold milk foams better than milk near its date — aging breaks down the proteins that hold bubbles together.
Method 1: French Press — The Best Frother You Already Own
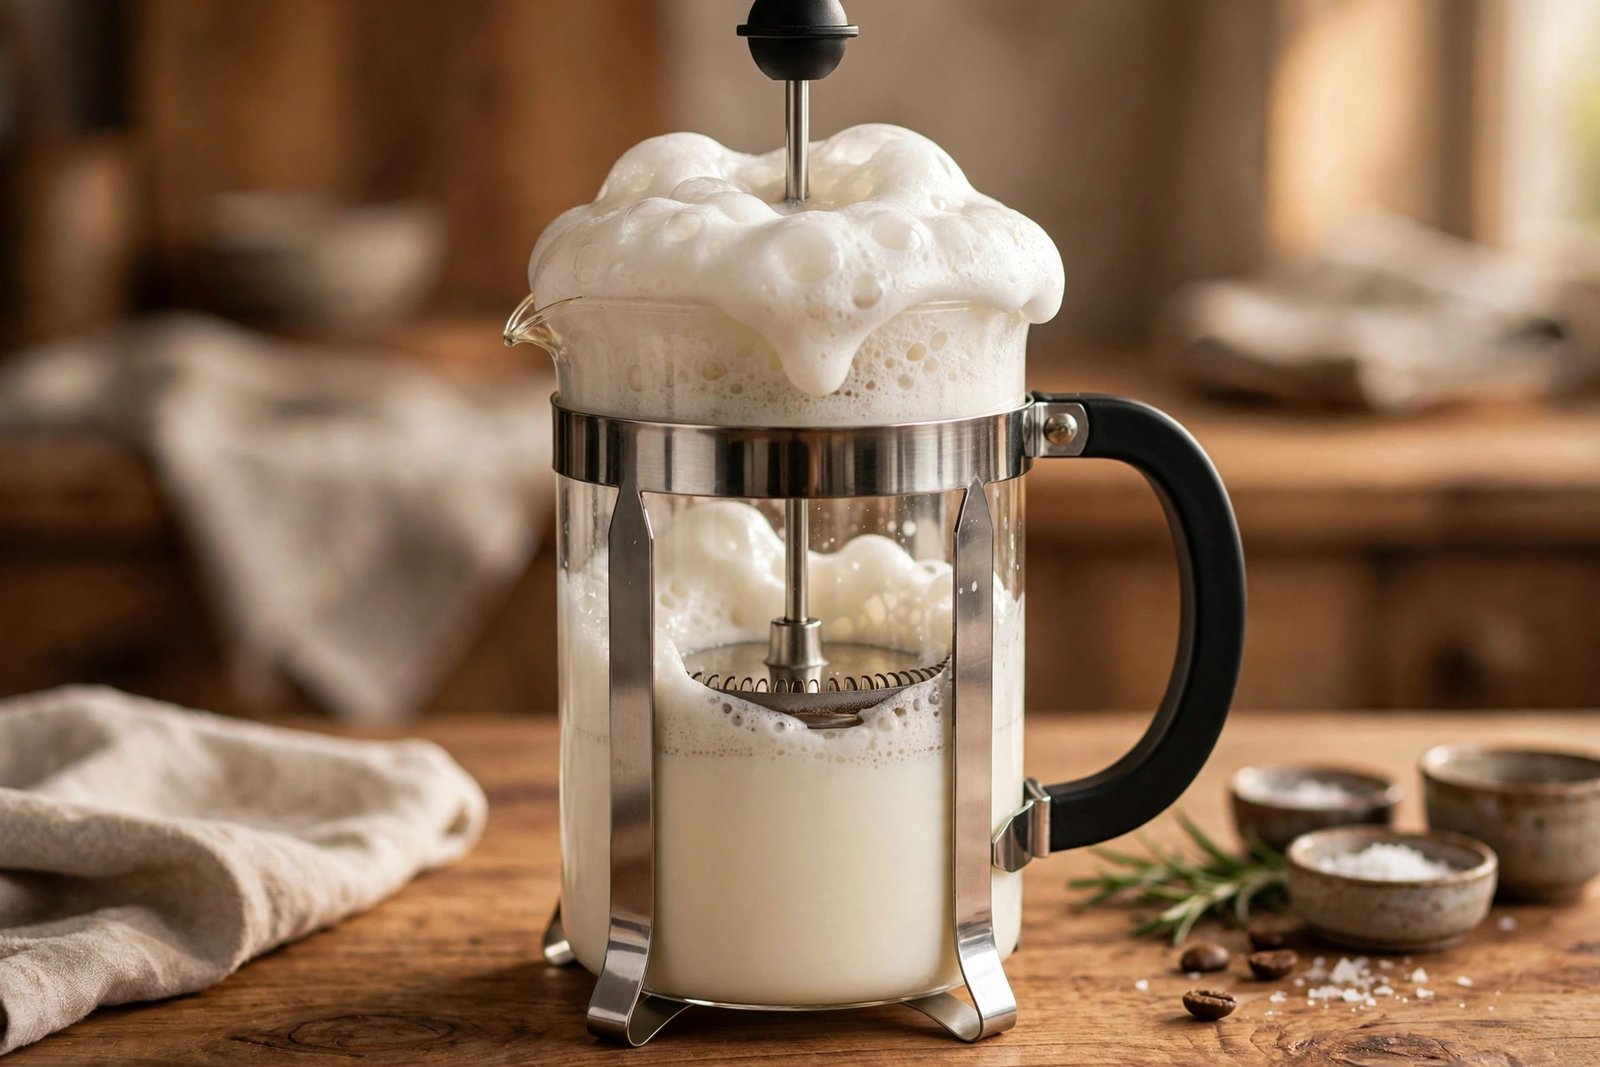
If you own a French press for coffee, you own the best manual milk frother ever made. Pumping the fine mesh plunger through warm milk creates the smallest, most even bubbles of any no-gadget method — genuinely close to steam-wand texture.
What you need: a French press (any size), warm milk.
- Heat the milk. Warm 1 cup of milk to 140–150°F on the stove or in the microwave. Don’t boil it.
- Fill only halfway. Pour the milk into the (clean, coffee-free) press, filling no more than half — frothed milk roughly doubles in volume.
- Pump the plunger. Hold the lid steady and pump the plunger up and down vigorously for 30–60 seconds. Start with the screen just under the surface to whip in air, then pump through the full depth to break big bubbles down.
- Swirl and settle. Give the press a firm swirl, tap it once on the counter to pop surface bubbles, and rest 20–30 seconds. The foam will thicken into a glossy cap.
- Pour. Pour the liquid milk first, then spoon the foam over the top of your drink.
Why it wins: the mesh screen shears big bubbles into tiny ones on every stroke — that’s exactly what microfoam is. If you try only one method from this list, make it this one. And if you ever do want a dedicated gadget, our budget milk frother guide covers the $15–25 handheld options.
Method 2: Mason Jar Shake — Zero Equipment Needed
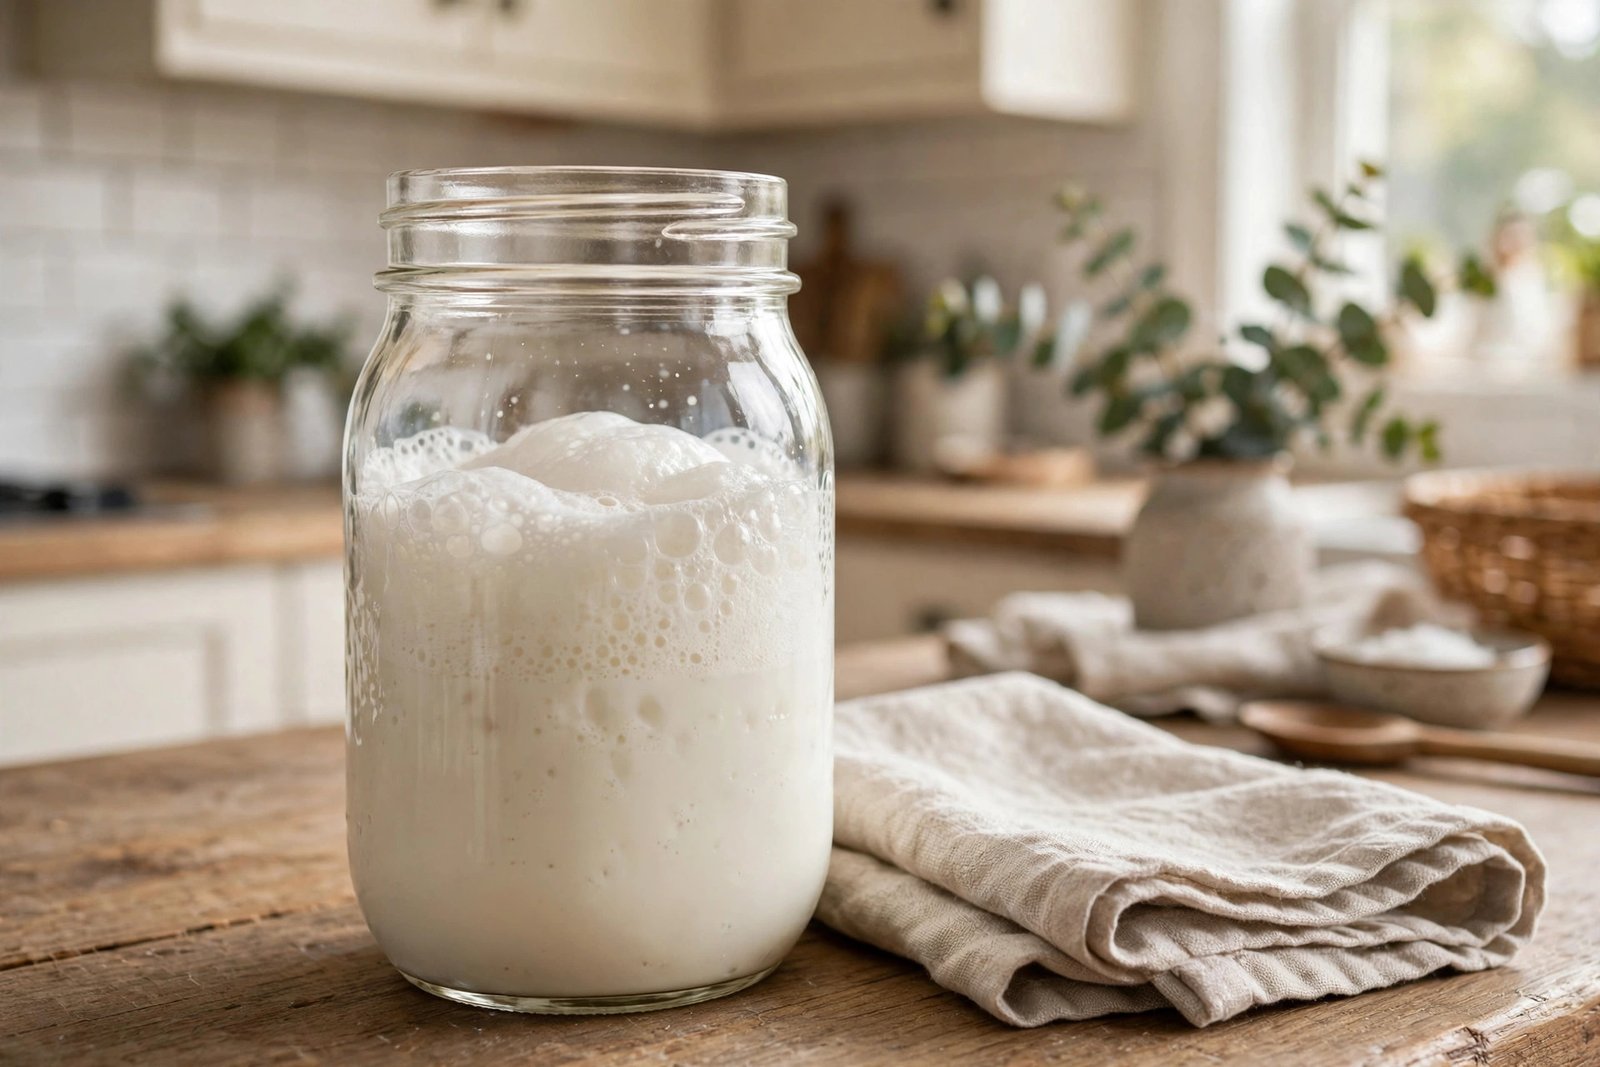
The simplest method on this list: a jar with a tight lid and thirty seconds of enthusiasm. The foam is coarser than the French press version, but for a home cappuccino or a cozy flavored latte, it absolutely delivers.
What you need: a mason jar or any jar with a screw-top lid.
- Fill halfway. Pour warm (140–150°F) milk into the jar, no more than half full. Leave room — the foam needs space to grow.
- Seal and shake. Screw the lid on tight and shake hard for 30–60 seconds, until the milk looks doubled and foamy through the glass.
- Stabilize (optional but smart). Remove the lid and microwave the jar uncovered for 20–30 seconds. The heat sets the foam so it holds longer.
- Pour and spoon. Pour the milk into your coffee, holding back the foam with a spoon, then scoop the foam on top.
Best for: iced drinks too — shake cold milk the same way for a quick cold foam (more on that below). Just skip the microwave step.
Method 3: Hand Whisk on the Stovetop
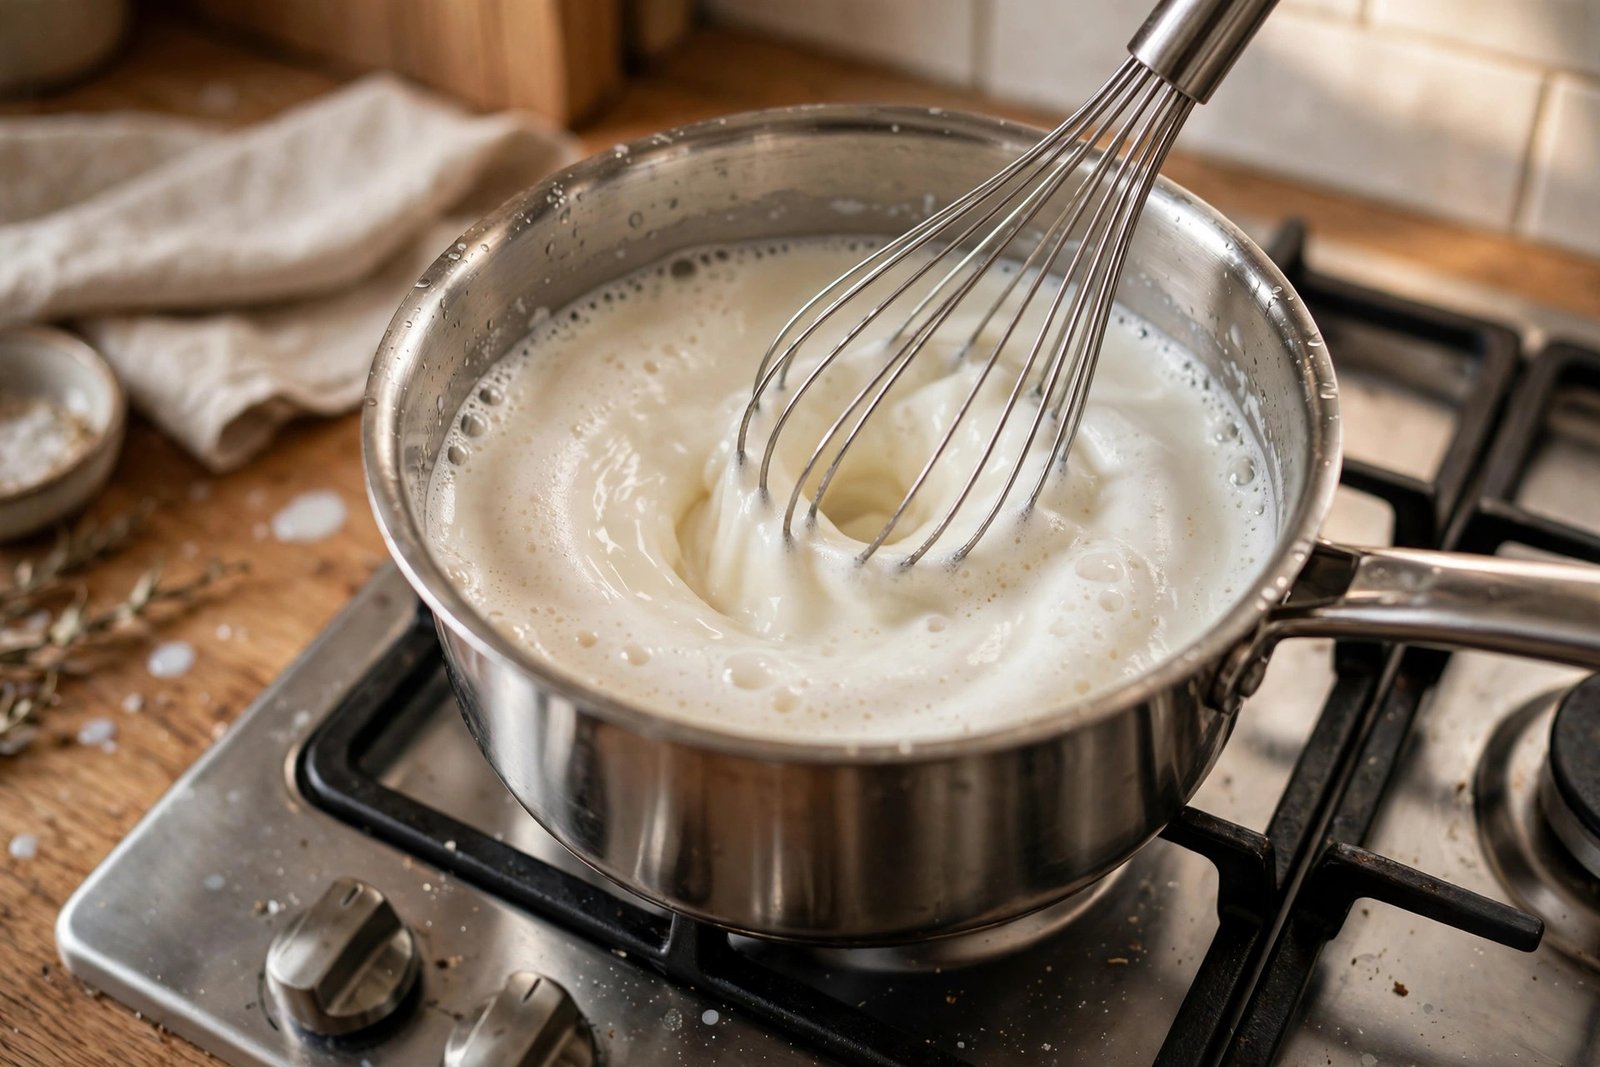
The old-school approach your grandmother would recognize. A balloon whisk in a saucepan makes a proper, old-fashioned cappuccino cap — it just asks for a minute of arm work.
What you need: a wire whisk and a small saucepan.
- Warm the milk gently. Heat 1 cup of milk in the saucepan over medium-low heat to 140–150°F, stirring once or twice.
- Whisk vigorously. Tilt the pan slightly and whisk fast in a back-and-forth motion (not circles) for 45–60 seconds, keeping the whisk near the surface to whip air in.
- Rest briefly. Let it sit 20 seconds so the foam firms up, then pour.
Tip: a small saucepan beats a big one — the whisk stays submerged and you get more aeration per stroke.
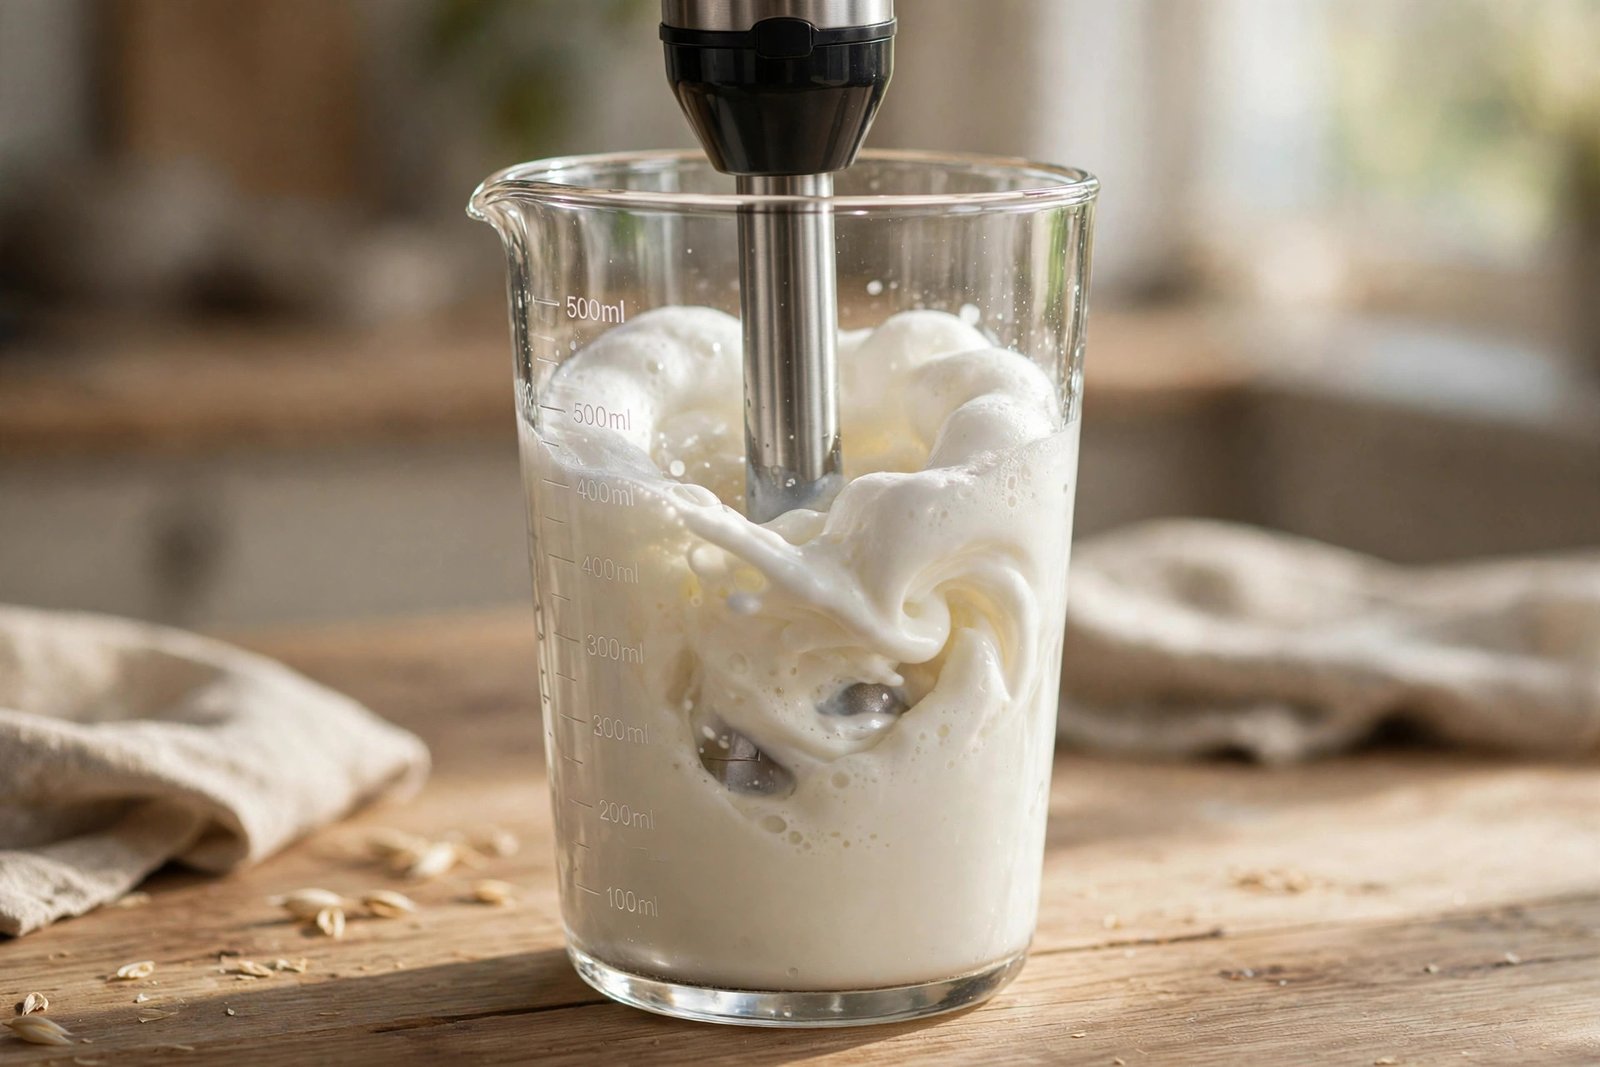
Method 4: Electric Hand Mixer or Immersion Blender — The Fastest
When speed matters, plug something in. A hand mixer or immersion (“stick”) blender foams a full cup of milk in under a minute with almost no effort — the closest you’ll get to push-button frothing without buying a frother.
What you need: an electric hand mixer or immersion blender, plus a tall container.
- Heat the milk. Warm to 140–150°F as usual.
- Use a tall vessel. Pour into a deep measuring cup or tall glass — this gets messy in a shallow bowl. Fill only one-third full.
- Blend on low, then medium. Submerge the beaters or blender head fully before switching on (or wear the milk). Blend 30–60 seconds until thick and foamy.
- Swirl and pour. Give it a quick swirl to even out the texture and pour right away.
Watch out: immersion blenders can fling hot milk if you lift them while running. Keep the head submerged until the motor stops.
Method 5: Countertop Blender — Big Batches and Cold Foam
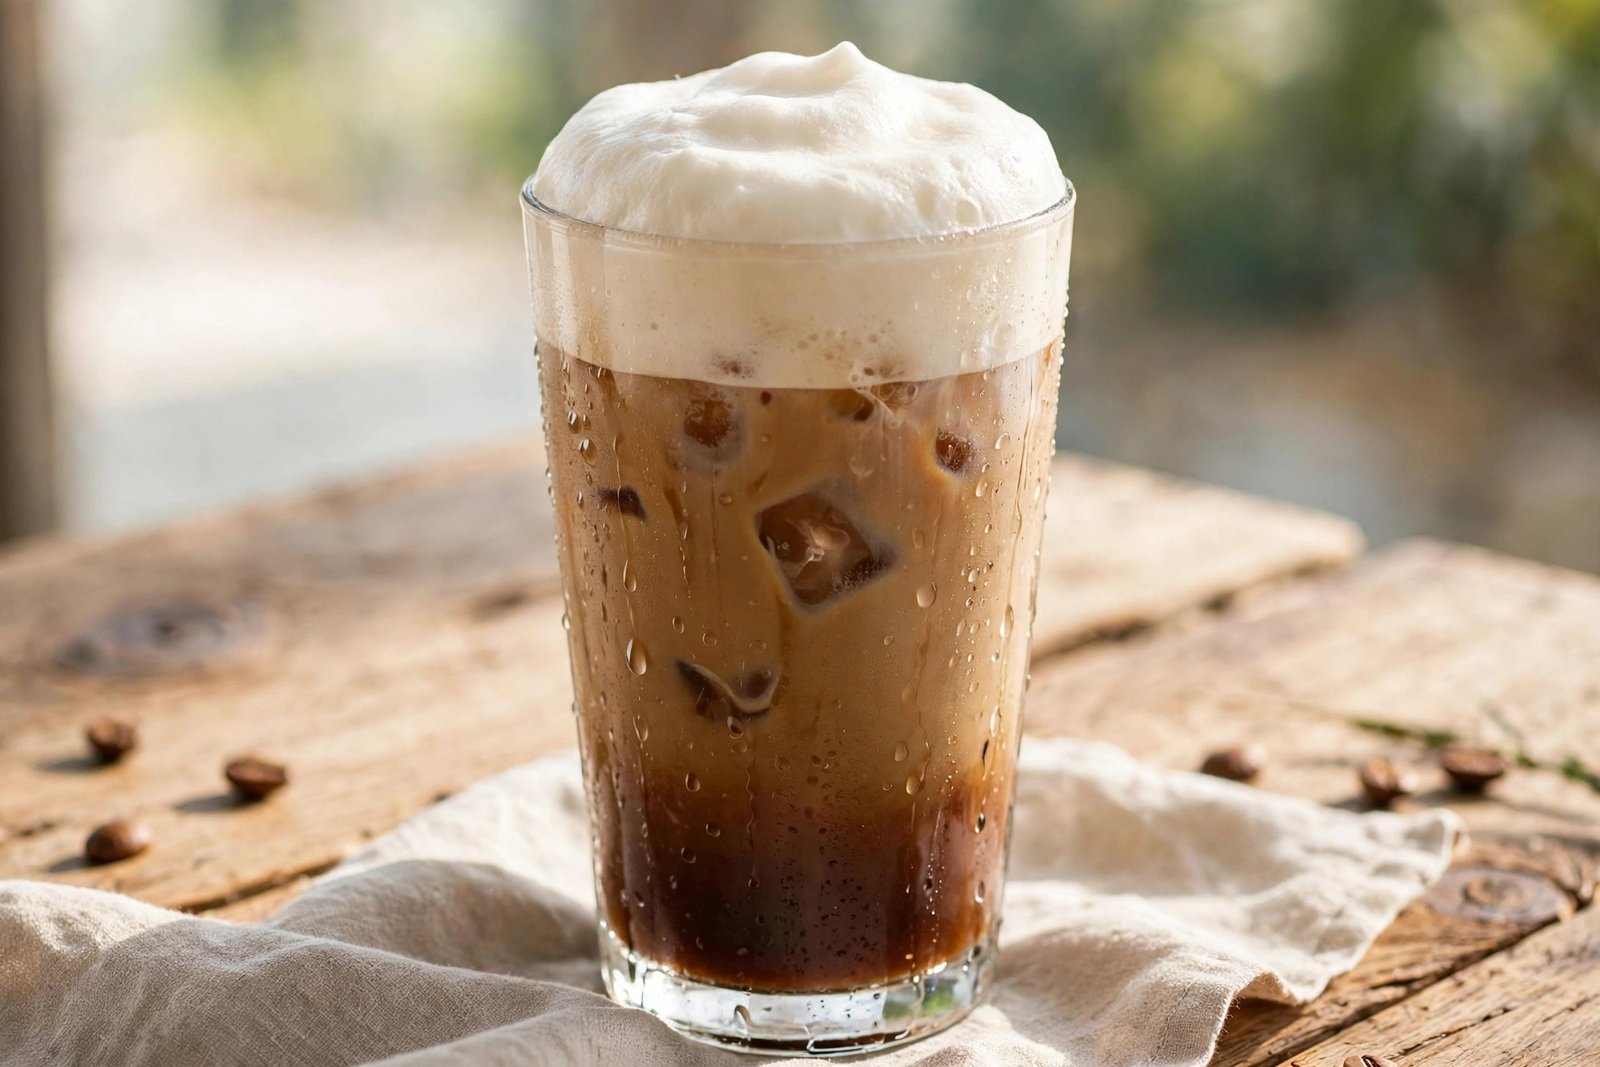
Making drinks for a crowd? A standard blender foams several cups at once. It’s also the easiest path to cold foam — the thick, spoonable cap on iced lattes — because blenders aerate cold milk beautifully.
What you need: a countertop blender.
- For hot foam: warm the milk to 140–150°F, pour into the blender (no more than half full), and blend on medium for 20–30 seconds. Vent the lid or crack it open — hot liquid in a sealed blender builds pressure.
- For cold foam: pour cold milk straight from the fridge (cold skim or barista oat works best here) and blend 30–45 seconds until thick.
- Pour over iced coffee for an instant coffeehouse-style cold foam latte.
Cleanup note: rinse the blender jar immediately — dried milk film is miserable to scrub later.
How to Froth Milk Without a Frother: Which Method Should You Choose?
- Best foam quality → French press. Smallest bubbles, glossiest texture, closest to a steam wand.
- Easiest / no tools → Mason jar shake. Nothing to buy, nothing to plug in, works hot or cold.
- Most old-school → Hand whisk. One pan, one whisk, a proper cappuccino cap.
- Fastest → Electric mixer or immersion blender. Under a minute, nearly effortless.
- Big batches or cold foam → Countertop blender. The crowd-pleaser and the iced-drink specialist.
Hot Foam vs Cold Foam — Know the Difference
They’re made differently and used differently:
- Hot foam uses warmed milk (140–150°F). Heat sweetens the milk and helps proteins form a stable, pourable foam for lattes and cappuccinos.
- Cold foam uses cold milk, frothed without heat — the jar shake or blender does it best. It sits like a cap on iced drinks and slowly melts in, which is the whole point.
Don’t try to make hot-style foam with cold milk for a latte — without heat, the proteins never set and the foam collapses in seconds. Match the method to the drink.
6 Mistakes That Ruin Your Foam
- Scalding the milk. Past 160°F, proteins denature and can’t hold bubbles — flat milk, scorched taste. Heat gently.
- Using the wrong milk for the job. Unsweetened almond milk in a French press still won’t give you a cappuccino cap. Pick whole, 2%, or a barista-edition oat milk.
- Overfilling the vessel. Frothed milk doubles in volume. Fill jars and presses halfway, blender pitchers one-third — or mop the counter.
- Skipping the swirl and settle. Fresh foam is full of big, fragile bubbles. A firm swirl and 20–30 seconds of rest turns it glossy and pourable.
- Frothing stale milk. Milk near its date has degraded proteins and foams poorly no matter your technique. Fresh and cold wins.
- Pouring too late. Foam starts separating within a minute or two. Build your coffee first, froth last, pour immediately.
FAQs
Can you froth milk without a frother? Yes — a French press, a lidded jar, a whisk, an electric mixer, or a blender all make real foam. The French press gives the finest texture; the jar needs no equipment at all.
What milk froths the best? Whole milk, by a clear margin — its fat and protein make dense, stable, glossy foam. For non-dairy, barista-edition oat milk is the closest match.
Can you froth cold milk? Yes, but it makes cold foam (for iced drinks), not hot-latte foam. Shake cold milk in a jar or blend it for 30–45 seconds and spoon it over iced coffee.
Why won’t my milk froth? The three usual culprits: milk overheated past 160°F, a low-protein milk like unsweetened almond, or milk that’s past its prime. Fix the variable and try again.
How hot should frothed milk be? 140–150°F (60–65°C). Hot enough to taste sweet and hold structure, cool enough to protect the proteins. No thermometer? Heat until steaming and hot — but still comfortable — to hold.
Can I froth milk in the microwave? The microwave heats; it doesn’t froth. But the jar method pairs perfectly with it: shake cold milk in a jar, then microwave uncovered 20–30 seconds to heat and set the foam.
Conclusion
Once you know how to froth milk without a frother, the “fancy coffee” barrier disappears. A French press, a jar, or a whisk turns ordinary milk into the thick, café-style foam that makes a homemade latte feel like a $6 one — no gadget required. Heat gently, pick the right milk, froth last, and pour fast.
Try the French press method this week, build it into your favorite latte, and taste what your kitchen could do all along.
Keep Brewing
- How to Make Espresso Without an Espresso Machine (5 Methods)
- Best Budget Milk Frothers for Café Foam at Home
- Homemade Vanilla Syrup for Coffee (3 Ingredients)
- Homemade Caramel Syrup for Coffee (Starbucks Copycat)
- Homemade Cinnamon Dolce Syrup Recipe (Starbucks Copycat)
- Dalgona Whipped Coffee Recipe (Easy, 4 Ingredients)
- Small Home Coffee Bar Ideas
Part of our Easy Coffee Recipes collection — five no-gear drinks you can make with what’s already in your kitchen.