
A rolling coffee bar is the most flexible home-café setup you can own. No drilling, no countertop sacrificed, no commitment — just a cart you style once and roll wherever the morning takes you. These coffee bar cart ideas work in apartments, small kitchens, living rooms, and even bedrooms, because the whole station moves with you.
The formula: pick a cart with two or three tiers, assign each tier a job (brew on top, serve in the middle, store below), and corral everything on trays so nothing rattles when you roll. Below: ten styled setups with budgets, plus tier-styling rules, real cost breakdowns, and small-space tips.
Why a Rolling Cart Beats a Fixed Coffee Bar
Fixed coffee bars eat a permanent chunk of counter or wall space. A cart asks for about two square feet — roughly the footprint of a barstool — and gives it back whenever you need the floor. That matters in small apartments, shared kitchens, and multipurpose rooms where the dining table is also the office.
Carts are renter gold: nothing mounts to the wall, nothing scars the counter, and the whole station moves with you on moving day. If you want a dedicated coffee corner without negotiating with a landlord, start here — and pair it with our renter-friendly coffee bar guide for the full no-drill playbook.
The third win is social. Roll the cart to the patio for slow Saturday mornings, park it next to the couch for movie night, or wheel it into the dining room when guests come over. A fixed bar can’t follow the moment. A cart can.

10 Coffee Bar Cart Ideas, Styled and Ready

Each setup below names the cart type, the tier-by-tier layout, and a realistic all-in budget (cart + styling, assuming you already own a brewer — add $30–$120 for a new one if you don’t).
1. The Classic Brass Bar Cart
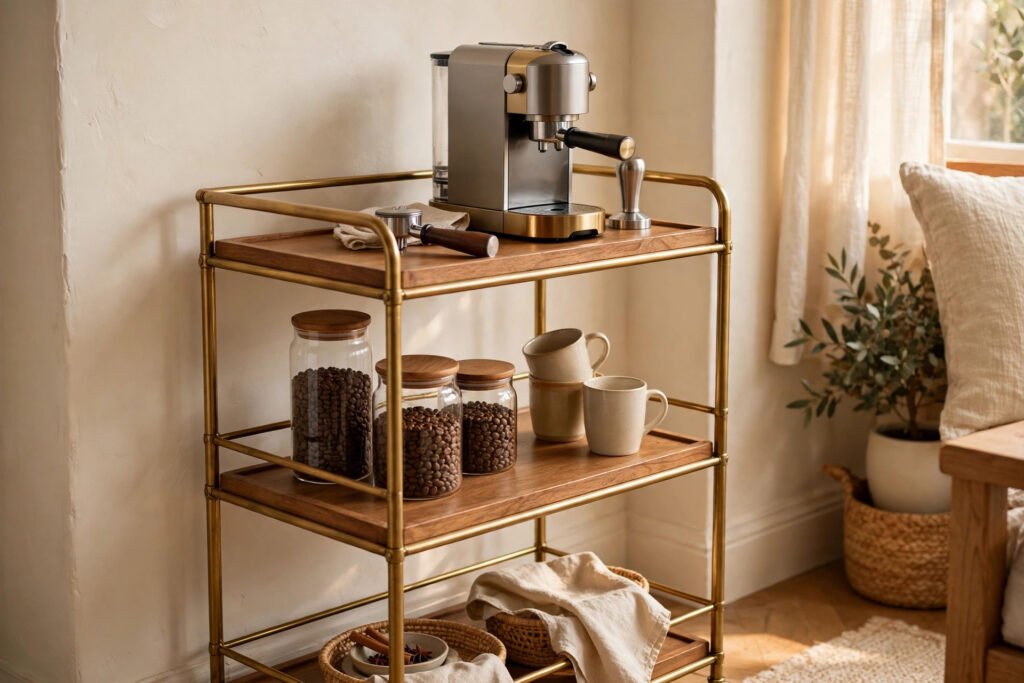
The icon: a two-tier brass-and-glass bar cart ($80–$160 new, $30–$60 thrifted). Top tier is the brew zone — a moka pot or pour-over set, a small tray to catch drips, and two ceramic mugs. Bottom tier holds glass canisters of beans, a sugar bowl, and a folded linen napkin for texture. Keep the palette tight — brass, glass, cream — and it reads as furniture, not clutter. Budget: $150–$250 styled.
2. The Budget Utility Cart
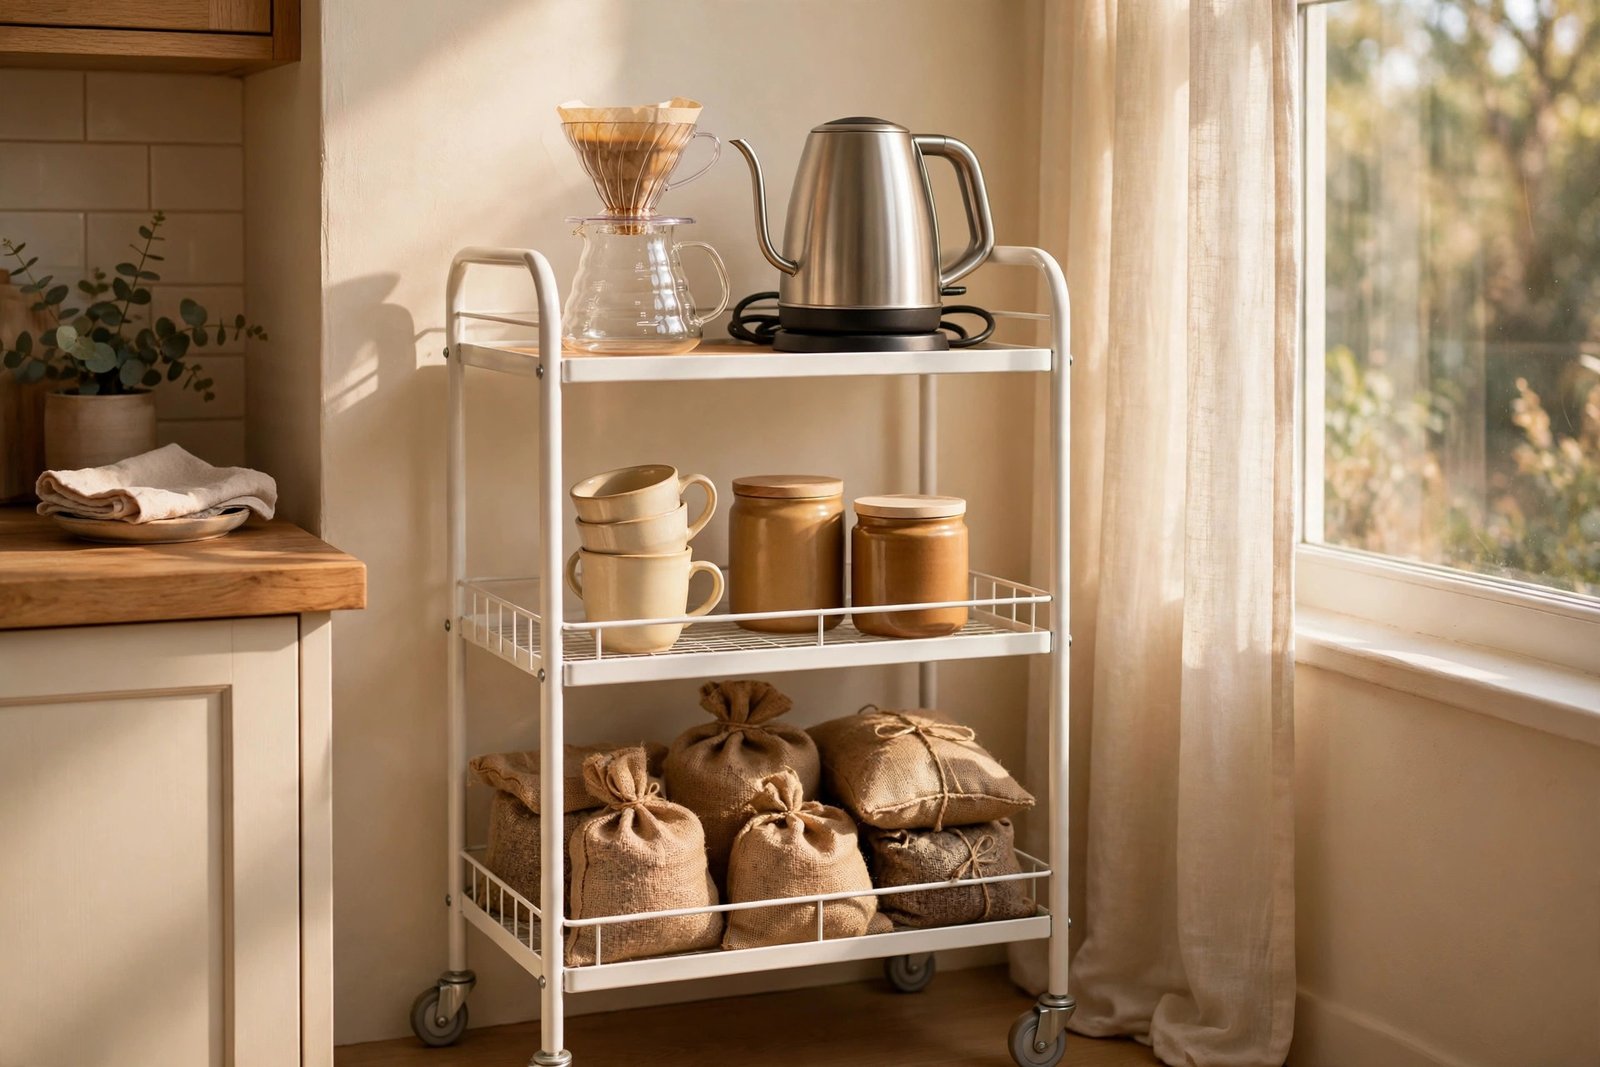
The three-tier metal rolling utility cart ($30–$50) is the budget hero of the coffee world. Top: electric kettle and pour-over dripper. Middle: a row of mugs plus a small canister of filters. Bottom: backup beans, a bag of decaf for guests, and cleaning supplies. Add adhesive side hooks for a towel and spoon. It isn’t fancy, but at this price it is the fastest way to a working station. Budget: $60–$120 styled.
3. The Thrifted Wooden Tea Cart
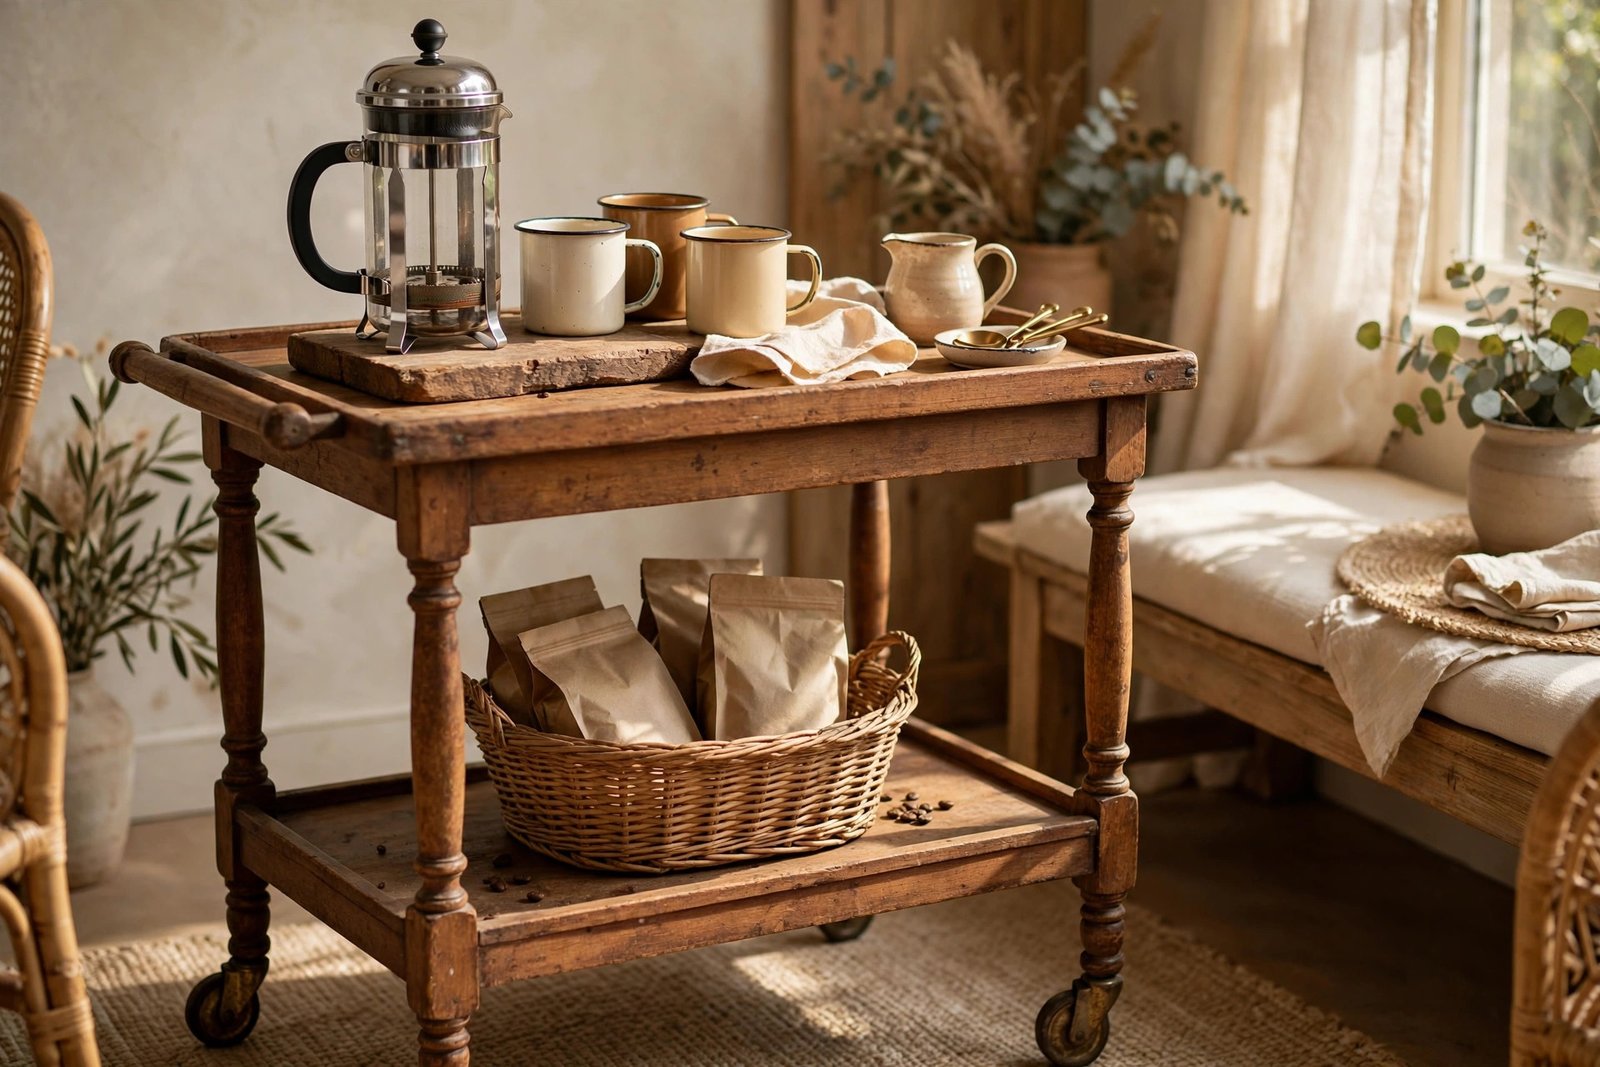
Hunt secondhand for a wooden tea cart or serving trolley ($20–$60 at thrift stores and estate sales). Solid wood carts have presence that flat-pack can’t fake, and a little wear looks intentional in a coffee context. Style it warm: French press on top with enamel mugs, a woven basket of coffee bags below, and a small cutting board as a riser. Sand and oil the wood if it’s rough — an hour of work, huge payoff. Budget: $50–$140 styled.
4. The Espresso Station Cart
Espresso machines are heavy and need a stable home, so this setup uses a sturdier cart with a wood or metal top ($100–$180). Machine on top with a tamping mat, grinder beside it if you have one, cups on the middle shelf, and beans plus a knock box below. Keep the water tank accessible and leave six inches of clearance above for the portafilter. For grind and dose guidance, the Specialty Coffee Association publishes the industry’s brewing standards. Budget: $180–$400 styled (machine not included).
5. The Breakfast Nook Cart
Park a small two-tier cart beside the kitchen table and it becomes the breakfast command center. Top tier: drip coffee maker or French press, mugs for the household, and a small pitcher of milk. Lower tier: cereal-adjacent extras — honey, cinnamon, cocoa powder, and a stack of small plates. On weekdays it serves the rush; on weekends it rolls to wherever brunch lands. Budget: $90–$180 styled.
6. The Living Room Lounge Cart
For the couch-side coffee ritual: a slim cart ($60–$120) stationed by your favorite chair. Top: French press or a carafe of already-brewed coffee, two mugs, and a tiny vase or candle for atmosphere. Middle shelf: a lidded jar of cookies or biscotti, coasters, and a paperback. Keep it curated — a lounge cart sits in your sightline all day. Budget: $100–$200 styled.
7. The Bedroom Morning Cart
A compact two-tier cart ($40–$80) turns a bedroom corner into a first-cup station — no kitchen trip before coffee. This one is electric-kettle territory: kettle and pour-over on top, one or two mugs and a small canister of ground coffee in the middle, and nothing perishable (milk stays in the kitchen). Use locking casters so it never drifts, and keep a spill mat under the brew zone. Budget: $70–$150 styled.
8. The Balcony and Patio Cart
Take it outside with a powder-coated metal cart ($50–$100) that can handle humidity. Style for the elements: a French press or cold brew pitcher, enamel or stainless mugs that won’t shatter, and a lidded canister for beans. Bring the grinder and anything electric back inside after each use — morning dew and electronics don’t mix. In warm months this becomes the most-used seat in the house. Budget: $80–$160 styled.
9. The Entertaining Cart
The party setup: a larger cart ($90–$160) styled for guests. Top tier: a big carafe of brewed coffee, a thermal carafe of hot water for tea drinkers, and a row of cups. Middle: syrups in small bottles, sugar cubes, cream in a pitcher, and stir sticks. Bottom: extra cups, napkins, and a backup bag of beans. Roll it out when guests arrive, away when they leave — hosting without a permanent footprint. Budget: $130–$260 styled.
10. The Minimalist Two-Tier
For the tiniest spaces: a narrow two-tier cart ($35–$70) with a footprint under two square feet. Top: your one brewer, one mug, one small jar of beans. Bottom: filters, a hand towel, and a backup bag. The discipline is the design — ideal for studios and crowded kitchens where every inch is negotiated. Budget: $50–$100 styled.
How to Style a Coffee Bar Cart, Tier by Tier
Whatever cart you choose, the tier logic stays the same. Top tier = brew zone. This is where coffee gets made, so it holds the brewer, kettle, and today’s mugs — plus a tray or mat to catch drips. Keep it uncluttered; you’ll work here every morning.
Middle tier = serve and store. Mugs (four to six), canisters of beans and sugar, syrups, and filters — corralled on a tray or in a basket so nothing scatters when you roll.
Bottom tier = pantry and backup. Backup beans, cleaning supplies, extra filters, the decaf for guests, seasonal extras. This tier can be purely functional — nobody sees it first.
Three rules tie it together. First, repeat materials: brass cart, brass tray or spoon; wood cart, wooden riser. Second, vary heights: a tall canister next to a low mug next to a medium jar looks styled; uniform heights look like storage. Third, leave breathing room — a cart packed edge to edge reads as clutter. Negative space is a styling tool.
For more small-footprint organization ideas, see our guide to coffee bar organization for small spaces.

Real Budget Breakdowns: What a Cart Coffee Bar Costs
The $40–$90 thrift build. A secondhand cart ($20–$40), mason jars you already own for bean storage, a thrifted tray ($5), and a small plant or candle for warmth. Add your existing brewer and mugs. Total outlay can genuinely stay under $90, and it looks intentional, not cheap.
The $100–$200 sweet spot. A new utility or bar cart ($40–$100), a set of glass canisters ($15–$25), a proper tray ($15–$30), adhesive hooks and a spill mat ($10–$15), and styling touches like linen napkins or a small vase ($10–$20). This is where most people land, and it’s the best value — everything feels deliberate.
The $250–$400 statement. A quality brass or solid-wood cart ($120–$200), matching canister set ($30–$50), a dedicated grinder upgrade ($40–$80), and premium styling. Worth it if the cart lives in your living room sightline, where it functions as decor.
Across all three tiers: spend on the cart and the canisters — the things you see and touch daily — and save on styling, where thrifted trays, jars, and baskets look just as good.
Small-Space Tips for Rolling Coffee Bars
- Measure your doorways before you buy. A cart that can’t roll from kitchen to living room is just a shelf with wheels. Standard interior doorways are about 30 inches wide — most carts clear that easily, but wide statement carts can get stuck. Measure twice.
- Lock the casters. Every cart used for brewing should have at least two locking wheels. Lock them every morning before you pour. A drifting cart plus a kettle of boiling water is a bad combination.
- Mind the cord. Electric kettles and espresso machines need an outlet within reach. A cart parked three feet from the nearest plug is decoration, not a coffee bar. Plan the parking spot around the outlet, and use a short cord you can coil on the cart when rolling.
- Go vertical on the cart itself. Adhesive hooks on the cart’s side frame hold towels, spoons, and a small trash bag for grounds. A slim caddy hung on the handle holds stir sticks and sweeteners. The cart’s footprint stays the same while its capacity grows.
FAQs
What is the best type of cart for a coffee bar? A three-tier rolling cart: brew on top, serve in the middle, store below. Bar carts suit living rooms; metal utility carts are cheaper and tougher; thrifted wooden carts have the most character. Match the cart to the room.
How much does it cost to set up a coffee bar cart? Realistically $60–$200 for most people, assuming you already own a brewer and mugs. A thrifted build can stay under $90; a statement brass cart with matching canisters runs $250–$400. The cart itself is usually the biggest single cost.
Will a coffee bar cart work in a tiny apartment? Yes — that’s its whole point. A two-tier cart needs about two square feet, rolls into a closet or corner when you need the floor, and requires zero wall mounting. It’s the most apartment-friendly coffee bar format there is.
How do I keep everything from falling off when I roll the cart? Use trays with raised edges on every tier, keep tall items (canisters, bottles) on the lowest tier possible, and don’t overload the top. Roll slowly, lock the casters before brewing, and remove the kettle’s water before moving if it’s full.
Can I put an espresso machine on a rolling cart? Yes, if the cart is sturdy with a solid top — look for wood or metal tops rated for at least 40–50 pounds, and check that the machine’s footprint fits with room to work. Lock all casters before pulling a shot, and keep the machine near an outlet since you’ll rarely want to roll it far.
How do I style a coffee bar cart so it doesn’t look cluttered? Three rules: corral small items on trays, repeat one or two materials (brass, wood, glass), and leave breathing room on every tier. If you can remove one item from each shelf and it still works, do it — restraint reads as style.
Conclusion
A coffee bar cart is the lowest-commitment way to get a real home café: two square feet, zero holes in the wall, and a station that follows you from kitchen to couch to balcony. Pick your cart, assign each tier its job, style with restraint, and lock those casters before you pour.
Roll one into your morning this week — start with the cart you have, style the tiers, and see how fast it becomes the most-used furniture in your home.
Keep Brewing
- Renter-Friendly Coffee Bar: No-Drill Setup Ideas
- Coffee Bar Organization for Small Spaces
- DIY Coffee Station Under $100
- Small Kitchen Coffee Bar Ideas