An iced coffee bar is the summer party upgrade nobody expects but everybody remembers. It’s cheaper than hiring a bartender, more fun than a pitcher of lemonade, and it photographs beautifully. Whether you’re hosting a backyard birthday, a bridal shower, or just a Saturday cookout, a self-serve iced coffee station lets guests build their perfect drink while you actually enjoy your own party.
Here’s the full playbook: the drink menu, the equipment, the ice strategy, the toppings, and how to arrange it all so the line keeps moving.
Step 1: Pick Your Party Drink Menu (Keep It to 3–4)
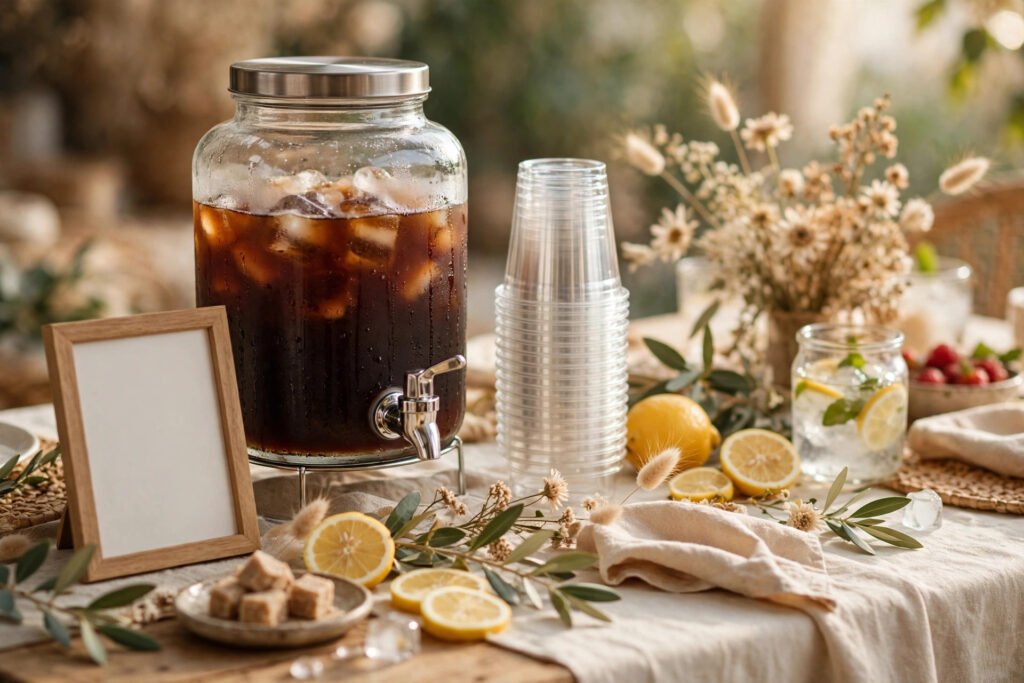
Decision fatigue kills a party station. Offer a short menu of crowd-pleasers with one signature drink that feels special.
A can’t-miss iced coffee party menu:
- Classic Iced Coffee — cold brew or chilled drip over ice, milk or cream on the side
- Iced Vanilla Latte — espresso or strong coffee + milk + vanilla syrup over ice
- Iced Caramel Macchiato — milk over ice, coffee poured on top, caramel drizzle
- Signature drink — something seasonal, like an iced brown sugar shaken espresso or a coconut cold brew
Print the menu on a chalkboard sign or a framed printable so guests know their options at a glance. Include a “recipe card” for each: e.g. “Vanilla Latte: fill cup ¾ with ice → 2 pumps vanilla → milk to 1 inch from top → 2 shots espresso → stir.”
Batch the base ahead of time
Brew a big batch of cold brew concentrate (or strong drip coffee, chilled overnight) the day before. For a party of 15–20, plan on roughly 1 gallon of cold brew concentrate — it dilutes with ice and milk, so it goes further than you’d think.
Step 2: The Equipment — Dispensers, Carafes & Cups
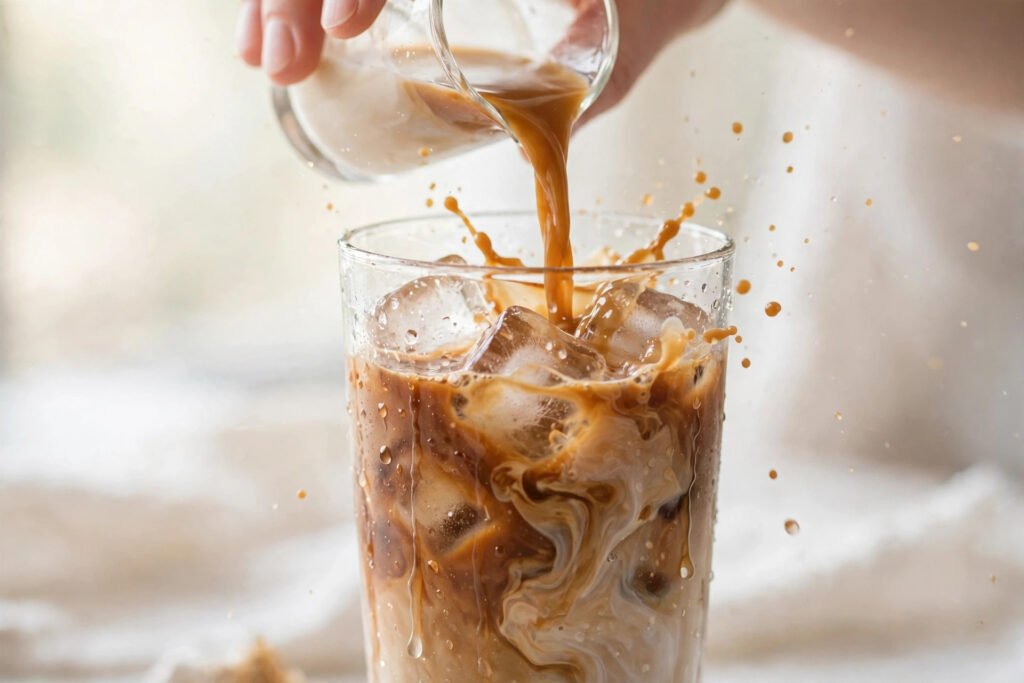
You don’t need professional gear. Here’s the practical setup:
- Drink dispensers — One or two glass beverage dispensers with spigots (usually $20–$30 each at Target or Walmart) hold cold brew and milk or a pre-mixed latte base. Label each with a little tag.
- Ice bucket or tub — A galvanized tub or large bowl filled with ice, with a scoop. Keep a backup bag in a cooler or freezer and refill halfway through.
- Cups — Clear plastic cups (12–16 oz) show off the pretty layers. For an eco-friendlier option, compostable clear cups work the same way.
- Straws and stirrers — Paper straws in a jar or striped plastic straws in a tall cup. Wooden coffee stirrers for hot-coffee holdouts.
- Napkins — Because condensation is real. A stack of cocktail napkins next to the cups saves your table.
Step 3: The Ice Strategy (Don’t Skip This)
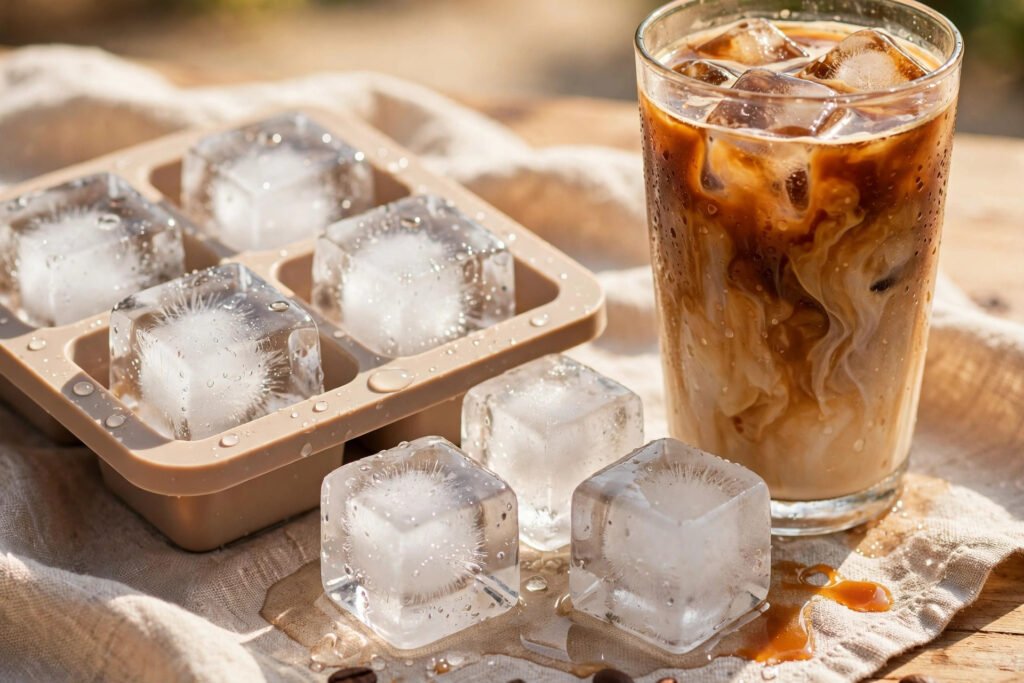
Warm iced coffee is a party foul. Ice management separates a good station from a great one.
- Use big ice — Large cubes or spheres melt slower and dilute less. Silicone large-cube trays cost a few dollars and make a visible difference.
- Coffee ice cubes — Freeze leftover coffee in ice cube trays. As they melt, the drink gets stronger, not weaker. Guests love this detail.
- Keep it cold — Set dispensers in a shallow tray of ice, or nest the milk dispenser inside a larger bowl of ice. Refill the ice tub once mid-party.
Step 4: The Toppings & Flavor Bar
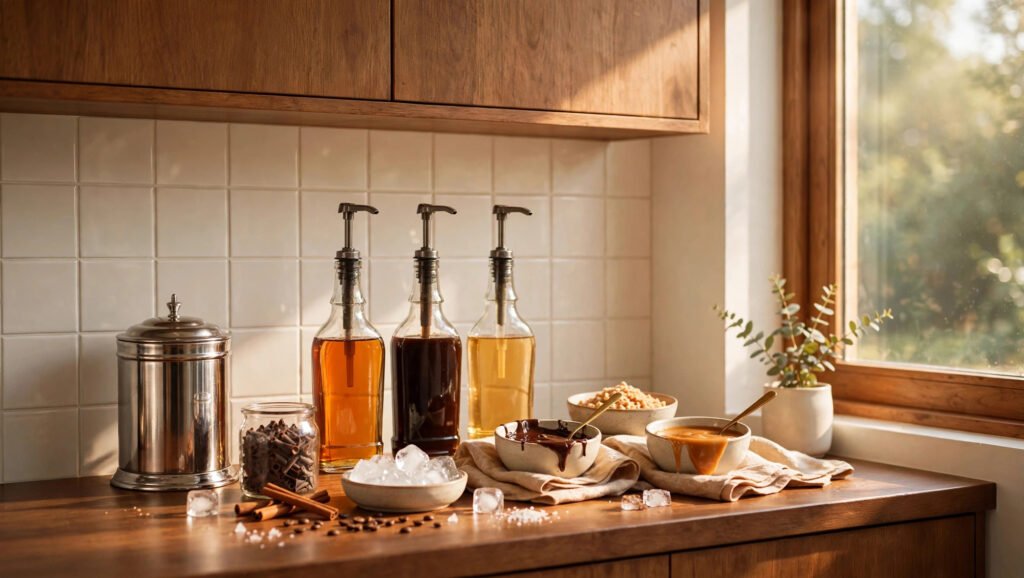
This is where the station becomes an experience. Arrange toppings in small bowls, jars, or a muffin tin for a gorgeous spread:
- Syrups — vanilla, caramel, hazelnut, plus one wildcard (coconut, brown sugar cinnamon, or toasted marshmallow). Pump bottles keep it tidy.
- Milk options — whole milk, oat milk, and almond milk cover most diets. Small pitchers or labeled dispensers.
- Sweeteners — sugar packets, a small bowl of raw sugar cubes, and sugar-free options.
- Toppings — whipped cream (a canister is easiest), chocolate and caramel drizzle bottles, cocoa powder shaker, cinnamon, crushed cookies, mini chocolate chips.
- Fruit twist — orange peel twists or a bowl of fresh berries for garnish on the signature drink.
Label anything with common allergens (dairy, nuts) with a tiny tent card — thoughtful and easy.
Step 5: Arrange for Flow — The Station Layout
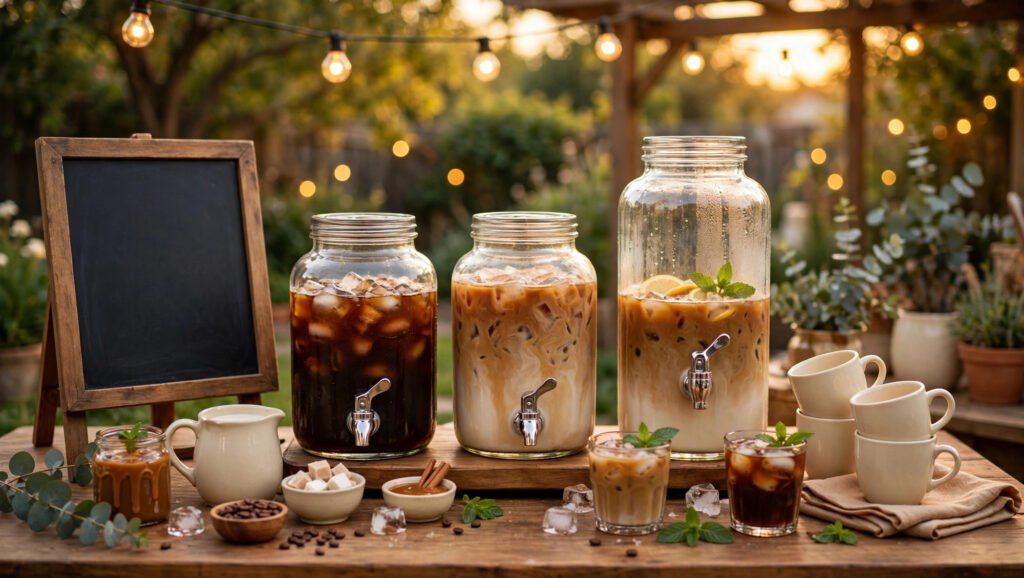
A party station lives or dies on flow. Set it up in this order, left to right (or in a U-shape for bigger crowds):
- Cups + napkins + straws (start here)
- Ice (fill the cup)
- Coffee base (dispensers)
- Milk + syrups (customize)
- Toppings + drizzles (finish)
- Menu sign at the very front so guests decide before they start
Put the station against a wall or table edge so there’s one clear direction of travel — no bottlenecks. If you expect more than 20 guests, consider two identical mini-stations instead of one long one.
Step 6: Décor Touches That Make It Pop
- A chalkboard or letter board with the menu
- A small vase of summer flowers or eucalyptus
- A tablecloth or runner in a summer color (linen-look disposable ones are cheap)
- String lights if the party runs into the evening
- A “build your own” sign with your party hashtag
Total décor cost can stay under $20 with dollar-store and Target finds — the drinks are the real decoration.
FAQ
Q: How much cold brew do I need for 20 guests? A: About 1 gallon of cold brew concentrate, since each serving dilutes with ice and milk. When in doubt, brew extra — leftover cold brew keeps in the fridge for up to 2 weeks.
Q: How do I keep iced coffee cold at an outdoor party? A: Nest dispensers in trays of ice, use large coffee ice cubes, keep backup ice in a cooler, and set up in the shade. Refill ice once mid-party.
Q: What’s the easiest signature iced coffee drink for a party? A: An iced brown sugar shaken espresso: espresso shaken with brown sugar syrup and ice, poured over oat milk. Or keep it simpler — a coconut cold brew with a toasted coconut rim.
Q: Can I set up an iced coffee bar without an espresso machine? A: Absolutely. Cold brew concentrate or strong chilled drip coffee works perfectly as the base. No special equipment needed beyond dispensers and ice.
Q: How far in advance can I prep? A: Cold brew: 12–24 hours ahead. Coffee ice cubes: freeze 1–2 days ahead. Syrups and toppings: set out 1 hour before guests arrive. Print/menu signs: anytime.
Conclusion
A DIY iced coffee bar is one of the highest-impact, lowest-stress party upgrades you can pull off: batch the coffee, lay out the toppings, arrange for flow, and let your guests play barista. Try it at your next summer gathering — and snap a photo of your station before the crowd descends.
Save this guide for party season and follow Brew & Beam for more home café entertaining ideas!