Coffee shops charge $6 for a latte. A home coffee station pays for itself in about two weeks — and it doesn’t need to cost hundreds to look like the ones all over Pinterest. This guide walks you through a complete build for under $100, with a real shopping list, exact steps, and the styling tricks that make budget pieces look expensive.
Here’s the promise: by Sunday evening, you’ll have a finished coffee station that looks like you spent $300. Let’s build it.
What $100 Actually Gets You
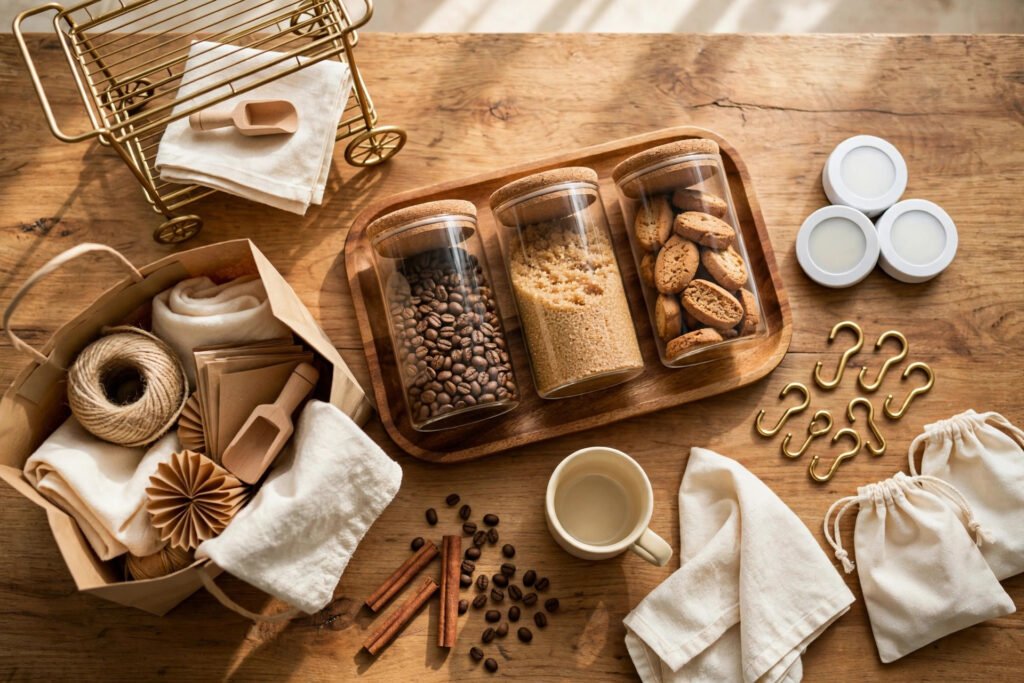
Before we shop, let’s set expectations honestly. This budget covers the station — the furniture, storage, and styling — not the coffee maker itself. We’re assuming you already own a brewer (drip machine, French press, pour-over, or single-serve pod machine all work). If you need a brewer too, check our gear guides and add it on top.
Here’s the target budget breakdown:
| Piece | Budget target |
|---|---|
| Base (cart, table, or shelf) | $25–$40 |
| Tray or mat to ground the setup | $8–$15 |
| Storage (canisters, jars, baskets) | $15–$25 |
| Mug storage (hooks, rack, or stand) | $5–$12 |
| Lighting/decor touches | $5–$10 |
| Total | $58–$102 |
Staying under $100 means thrifting the big piece and buying the small pieces new. Here’s how.
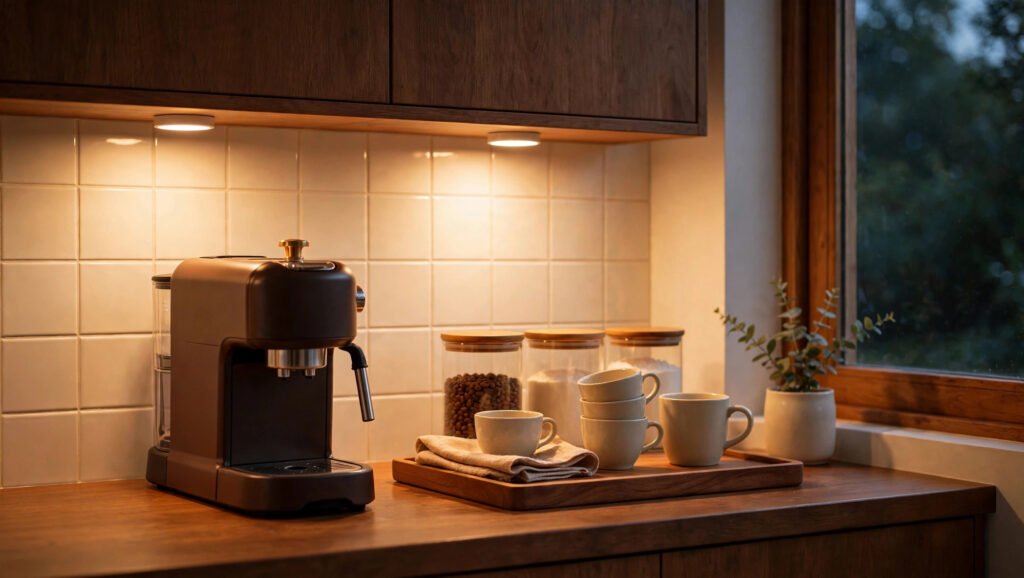
Step 1: Find Your Base (Target: $25–$40)
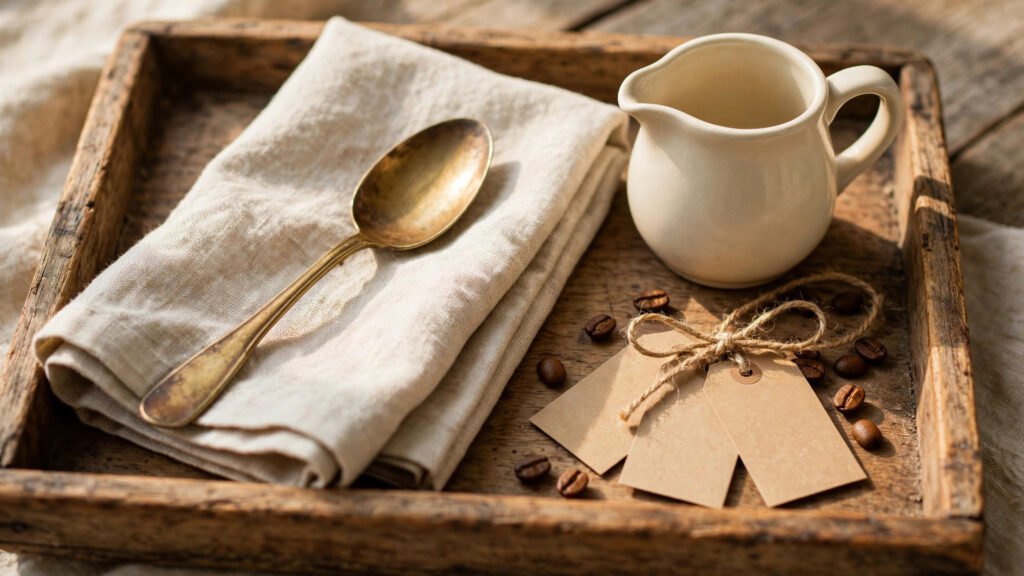
The base is the one piece worth hunting for — it’s the biggest cost and the biggest visual impact. You have three strong options:
Option A: Thrift a bar cart or side table. Check thrift stores, Facebook Marketplace, and garage sales for rolling carts, small side tables, or nightstands. Expect $10–$25. Look for solid structure; wobble and ugly finish are fixable, broken joints usually aren’t.
Option B: IKEA’s cheapest. The RÅSKOG utility cart runs about $30 new, and the LACK side table is usually under $15. Both are coffee-station staples for a reason — they’re the right size and they take styling well.
Option C: Repurpose what you own. A bookshelf turned sideways, a microwave cart, an old nightstand, even a sturdy TV tray table. Free is the best budget. Measure it: you want at least 16 inches of depth for a brewer plus a tray.
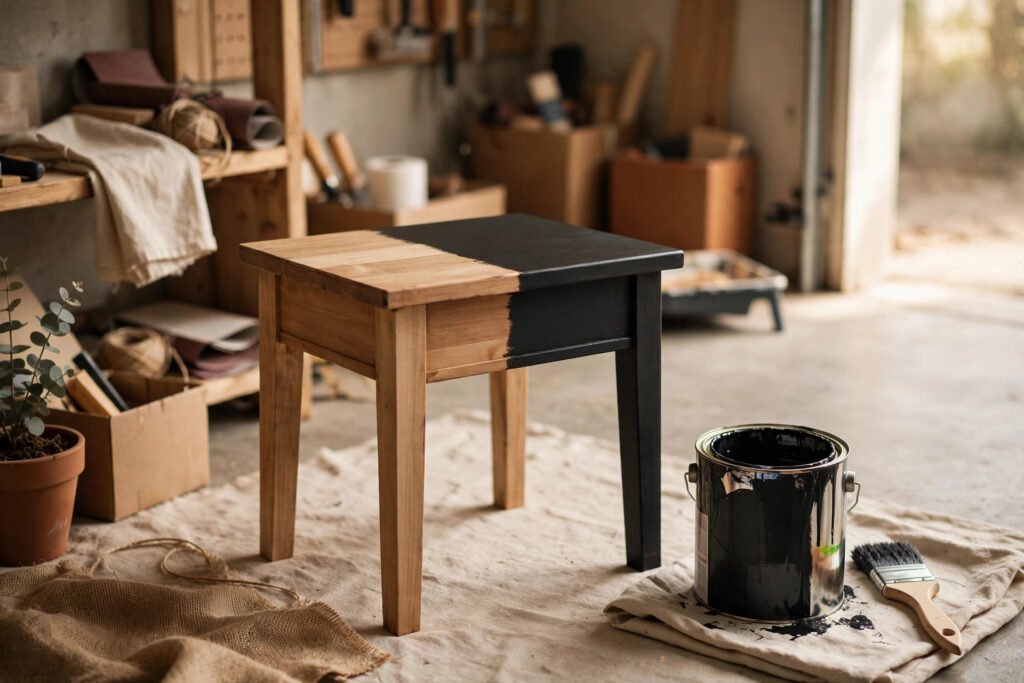
The $8 upgrade: A can of matte spray paint (black, white, or gold) transforms any thrifted piece. Lightly sand, wipe clean, two thin coats. Do this outside or in a garage with ventilation, and let it cure 24 hours.
Step 2: Ground It With a Tray (Target: $8–$15)
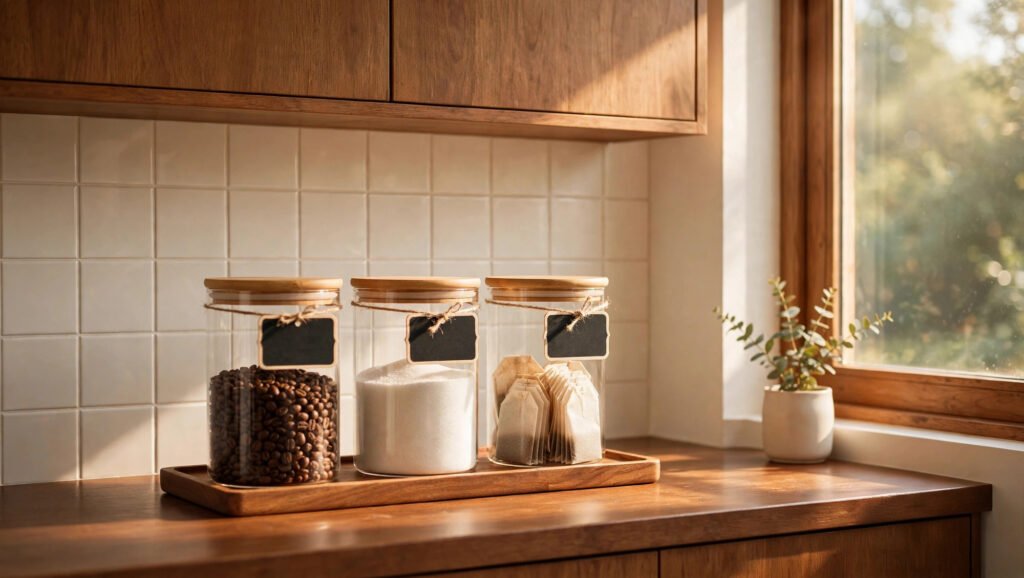
A tray is the single highest-impact cheap purchase in this whole build. It visually groups your supplies, protects the furniture from rings and spills, and makes the whole thing look intentional.
Good budget options: bamboo or acacia serving tray from Target or IKEA ($10–$15); a large cutting board you already own (free); galvanized metal tray from Walmart (often under $10); thrifted wooden tray ($3–$8 — sand and oil it for a fresh look).
Size guide: for a single-serve brewer, a 12-by-18-inch tray fits the machine plus creamer, sugar, and spoons. For a drip machine, go 14-by-20 or place the brewer beside the tray with supplies on it.
Step 3: Add Storage That Looks Like Décor (Target: $15–$25)
This is where budget builds usually fail — mismatched bags and boxes everywhere. The fix is cheap: decant into matching containers.
The canister set ($12–$18): A set of 3–4 glass canisters with bamboo or black lids from IKEA, Target, or Amazon holds coffee beans, sugar, tea bags, and filters. Matching lids are what make it look expensive.
One basket ($5–$8): A small woven or wire basket corrals pods, packets, or extra filters. It adds texture, which is what separates “organized” from “styled.”
Label everything ($2): A $2 chalk marker or a pack of kraft labels from the dollar store. “COFFEE,” “SUGAR,” “DECAF” in neat handwriting is peak Pinterest for two dollars.
Step 4: Solve Mug Storage (Target: $5–$12)
- Under-shelf mug hooks ($5–$8 for a pack): screw or slide under a shelf above your station; mugs hang neatly and stay dust-free.
- A mug tree or stand ($8–$12): holds 6 mugs in a 6-inch footprint. Thrift stores have these constantly for $3–$5.
- Adhesive wall hooks ($4–$6): removable, renter-friendly, and they turn a blank wall into mug display.
Rule of thumb: display 4–6 daily mugs, store the rest in a cabinet. A coffee station with 15 mugs looks like clutter, not a café.
Step 5: Add the $10 of Cozy (Target: $5–$10)
- Battery LED puck lights ($8 for a 6-pack): stick one under the shelf above your station. Warm white, not cool — you want café glow, not office glow.
- One small plant or framed print ($0–$5): a pothos cutting in a thrifted mug, or a free printable coffee quote in a dollar-store frame. One item, not five — restraint reads as style.
The Full Shopping List (Copy-Paste Ready)
Thrift / Marketplace first: Bar cart, side table, or nightstand — $10–$25; Wooden tray or basket — $3–$8; Mug tree (optional) — $3–$5.
Buy new: Spray paint (if refinishing) — $6–$8; Serving tray (if not thrifted) — $10–$15; Glass canister set (3–4 pc) — $12–$18; Small basket — $5–$8; Mug hooks or adhesive hooks — $4–$8; Chalk marker or kraft labels — $2; Battery LED puck lights — $8.
Estimated total: $63–$97. Under budget, with room for tax.
Weekend Build Timeline
Saturday morning (1 hour): Thrift run. Hit 2–3 stores with your measurements written on your phone. Don’t settle for the wrong size — the right piece at the wrong size still looks wrong.
Saturday afternoon (2 hours): Clean, sand, and spray-paint the base. While coats dry, wash canisters and plan your layout on the floor.
Sunday morning (1 hour): Assemble, style, and label. Place the brewer first, then the tray with daily supplies, then canisters and mugs, then the light and décor touch last.
Sunday afternoon: Brew the first cup at your new station. You’ve earned it.
Styling Rules That Make It Look Expensive
- Odd numbers. Group décor in threes: three canisters, three mugs on display, one plant. Odd groupings look intentional.
- Vary heights. Tall canister, medium plant, short stack of coasters. Flat lines look like a store shelf.
- One metal finish. Pick black, gold, or silver for hooks, lids, and tray handles — mixing all three reads as clutter.
- Leave breathing room. A station packed edge-to-edge looks messy no matter how nice the pieces are. If it doesn’t fit, it doesn’t go on the station.
- Hide the cords. A $6 adhesive cord organizer or a small basket behind the brewer to coil the cord. Visible cord spaghetti ruins the whole effect.
FAQs
Can I really build a coffee station for under $100? Yes — if you thrift the furniture piece. The cart or table is the only expensive part; everything else (tray, canisters, hooks, lights) totals $40–$60 new. People blow the budget buying the base new at full retail.
What if I don’t have a thrift store nearby? Facebook Marketplace and local Buy Nothing groups are your backup — small tables and carts get listed free or under $20 constantly. IKEA’s LACK table (usually under $15) is the cheapest reliable new option.
Do I need a special coffee maker for a coffee station? No. Whatever you already own works — drip, French press, pour-over, pod machine, or espresso maker. Build the station around your brewer’s footprint: measure its width and depth before you shop for the base.
How do I keep it clean? The tray is your secret weapon: lift it, wipe underneath weekly, and everything else stays put. Wipe canister lids when you refill, and run a damp cloth over the base every week or two. Five minutes, tops.
Is spray paint safe on furniture that holds food items? Yes, once fully cured (24–48 hours). The paint is on the furniture, not touching food directly — your beans and sugar live inside sealed canisters. Use the station normally after curing; just don’t set hot items directly on a fresh paint job.
Conclusion
A $100 coffee station isn’t about cutting corners — it’s about spending where it shows (the base, the tray, matching storage) and skipping what doesn’t (brand-name organizers, full matching sets). Thrift the big piece Saturday, style it Sunday, and by next week you’ll wonder why you ever paid $6 for a latte.
Save this guide, then send us a photo of your build — the thrifted ones are always our favorites.
Pingback: Best Budget Espresso Machines Under $200 (2026 Guide)
Pingback: Cozy Coffee Corner Decor Ideas on a Budget
Pingback: 15 Small Kitchen Coffee Bar Ideas That Fit Any Kitchen